Make Easy Vanilla Cupcakes from Scratch
What if you could bake soft, fluffy treats in under 40 minutes with just a handful of ingredients? Whether you’re a beginner or a seasoned baker, this tried-and-tested recipe delivers perfect results every time.
Using simple pantry staples like cake flour and buttermilk, these delights rise with a tender crumb. The balance of ingredients ensures a light texture, while room-temperature butter and eggs help create a smooth batter.
With over 2,000 glowing reviews, this method guarantees success. Plus, it’s flexible—swap ingredients to fit dietary needs without sacrificing flavor. Ready to impress? Let’s get baking!
Key Takeaways
- Quick 40-minute prep and bake time
- Uses basic ingredients for convenience
- Yields 12–25 servings depending on size
- Fluffy texture from precise ratios
- Adaptable for dietary preferences
Why You’ll Love These Easy Vanilla Cupcakes from Scratch
With a 4.91/5 rating from over 2,000 bakers, this recipe is a guaranteed hit. One reviewer calls it “the only vanilla cupcake recipe you need”—and here’s why.
First, the texture. A science-backed blend of cake flour and buttermilk creates a crumb so tender, it rivals professional bakeries. Yet, you only need basic tools and ingredients.
This cupcake recipe also saves time. Unlike layered cakes, it’s ready in under 40 minutes. Perfect for last-minute parties or sweet cravings.
Flavor versatility shines too. Pair them with chocolate frosting, fruit fillings, or enjoy them plain. They’re a blank canvas for creativity.
| Homemade | Store-Bought | |
|---|---|---|
| Cost | $0.50 per serving | $3+ per serving |
| Time | 40 minutes | Store trip + wait |
| Customization | Unlimited | Limited |
Consistency is key. Tested measurements ensure fluffy results every time. Whether for birthdays or weeknight treats, these delights never disappoint.
Gather Your Ingredients
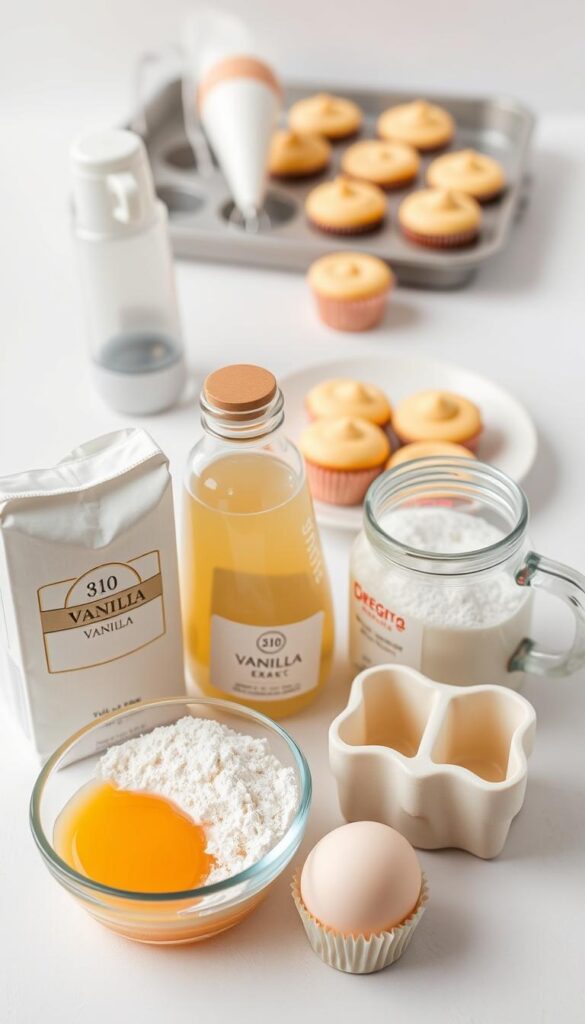
Quality ingredients make all the difference in fluffy, tender results. Using precise measurements and the right types ensures your batter bakes evenly. Here’s what to grab from your pantry.
Dry Ingredients
Cake flour is ideal for a delicate crumb, but all-purpose flour works in a pinch. Combine it with baking powder for lift and granulated sugar for sweetness. A pinch of salt balances the flavors.
| Ingredient | Cake Flour | All-Purpose Flour |
|---|---|---|
| Texture | Softer, lighter | Denser |
| Protein Content | 7–9% | 10–12% |
Wet Ingredients
Room-temperature butter blends smoothly with sugar for a creamy base. Eggs add structure, while milk keeps the batter moist. Vanilla extract enhances the flavor without overpowering.
Pro tip: Measure liquids in clear cups for accuracy. Too much or too little can alter the texture.
Step-by-Step Instructions
Ready to bake? Follow these foolproof steps for perfect results. Each stage ensures a light, fluffy texture and even bake.
1. Prep the Oven and Pans
Preheat the oven to 375°F (190°C). This guarantees even heat distribution. Line a muffin tin with paper liners—they lock in moisture better than greasing.
2. Cream Butter and Sugar
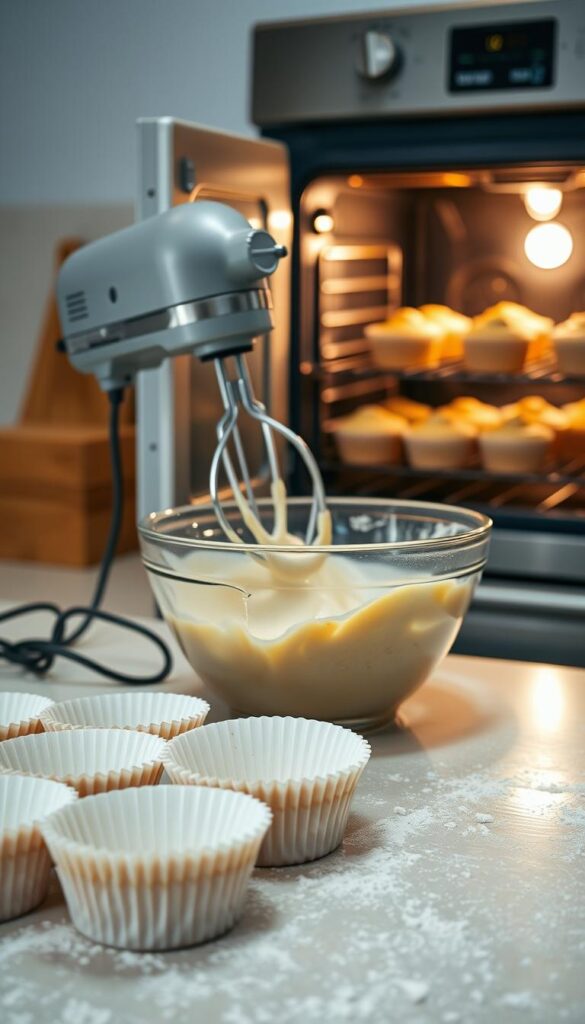
Beat room-temperature butter and sugar for 5 minutes in a mixer. Aim for a pale, fluffy “ribbon stage.” This step traps air for a tender crumb.
3. Mix Dry and Wet Ingredients
Whisk dry ingredients in one bowl. Alternate adding them with milk to the creamed mixture. Use a spatula to fold gently—overmixing toughens the batter.
4. Bake to Perfection
Fill liners 2/3 full using an ice cream scoop. Bake for 18–20 minutes. Test doneness with a toothpick or check for golden edges. Cool on a rack to avoid soggy bottoms.
Pro Tips for the Best Cupcakes
Small adjustments make a big difference in your baking. Follow these expert tips to ensure light, fluffy results every time.
1. Room Temperature Matters
Room-temperature ingredients blend smoothly for even texture. Cold butter or eggs can create lumps or dense batter.
- Ideal range: 65–70°F for dairy products.
- Quick fix: Place cold eggs in warm water for 5 mins.
2. Don’t Overfill the Liners
Fill liners 2/3 full to prevent overflow. An ice cream scoop ensures consistent sizing.
Baking time varies by oven. Check at 19 mins with a toothpick—clean means done.
Easy Vanilla Frosting Pairings
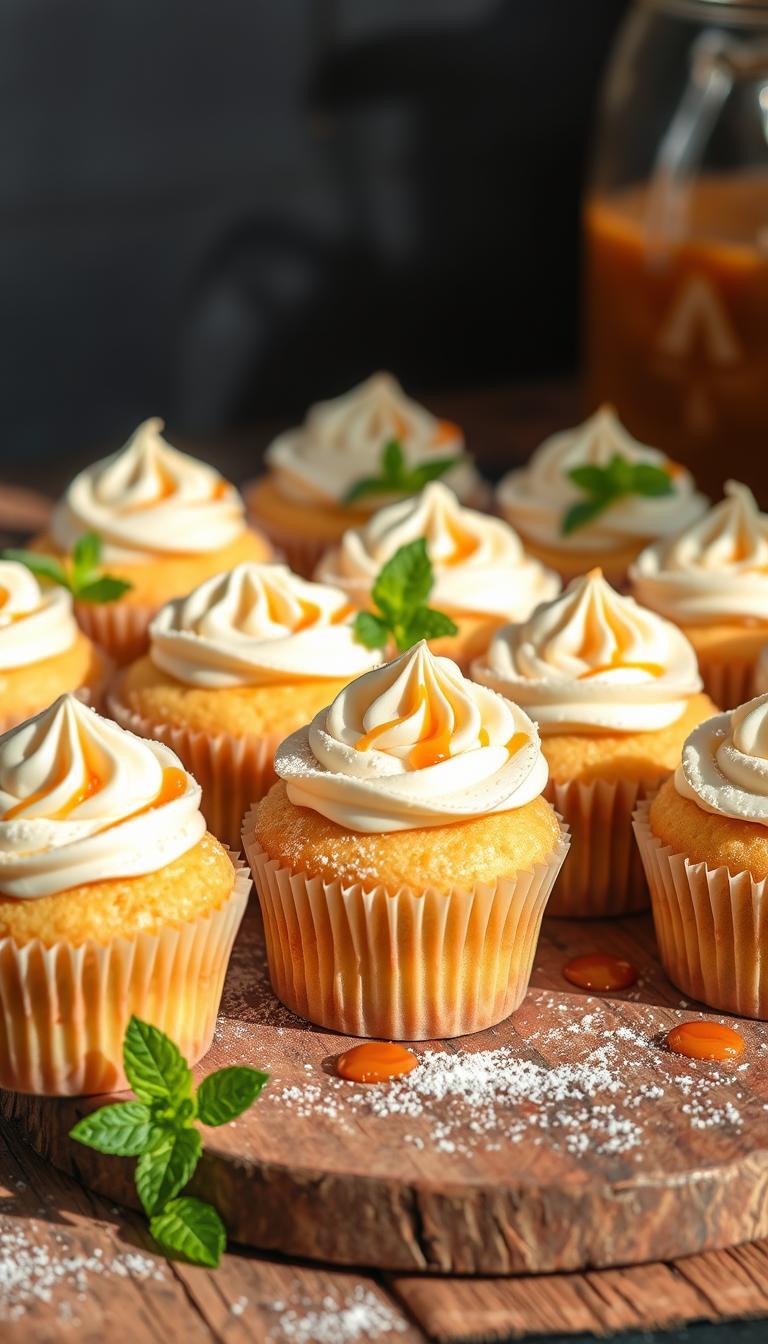
The right frosting can transform your baked treats into showstoppers. Whether you prefer classic buttercream or light whipped toppings, these pairings enhance texture and taste.
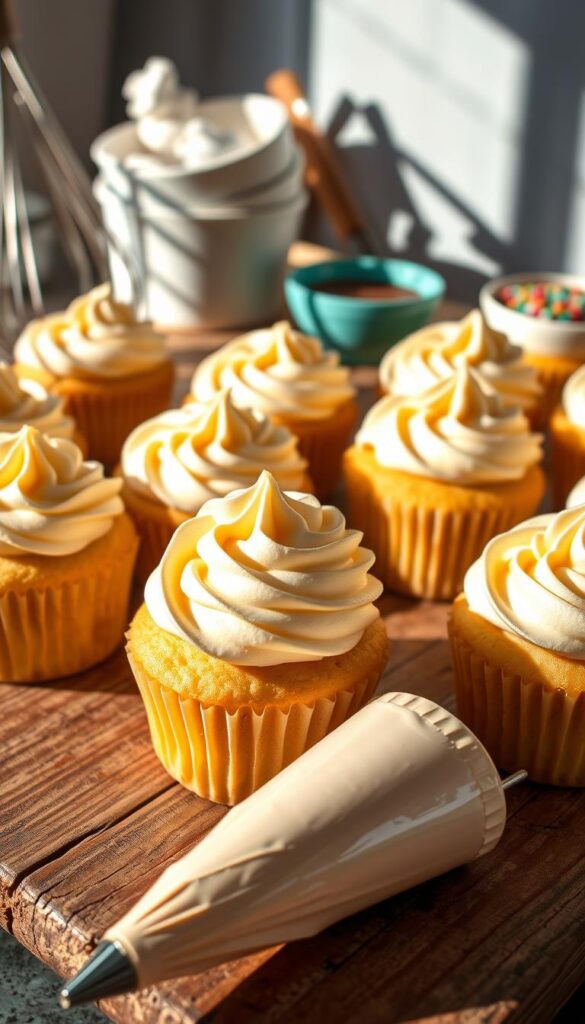
For smooth piping, use a Wilton 1M tip. It creates elegant swirls that hold their shape. Adjust buttercream consistency with milk—add a teaspoon at a time until spreadable.
| Frosting Type | Best For | Prep Time |
|---|---|---|
| American Buttercream | Sturdy designs | 10 mins |
| Whipped Cream | Light, airy texture | 5 mins |
| Chocolate Ganache | Rich drizzle | 15 mins |
Infuse flavor with citrus zests or extracts. Lemon zest brightens vanilla frosting, while almond extract adds depth. Fold in fruit compote for a tangy surprise filling.
Stabilize whipped cream with gelatin for longer-lasting results. Or try a chocolate ganache drizzle—heat cream and pour over chopped chocolate, then stir until glossy.
Experiment with these recipes to find your signature match. Each option offers a unique twist for every occasion.
Creative Variations to Try
Elevate your baking game with these creative twists on a classic treat. Simple additions can transform basic recipes into signature desserts. Try these crowd-pleasing variations for your next batch.
Lemon Vanilla Combo
Brighten flavors with citrus notes. Add 2 tbsp lemon zest when creaming butter for maximum oil release. The natural acidity balances the sweetness perfectly.
For extra zing, inject lemon curd after baking. Use a piping tip to fill each treat from the bottom. Top with candied peel for garnish.
Chocolate Swirl Technique
Create marbled effects by folding melted chocolate into half the batter. Layer plain and chocolate mixtures in liners, then swirl with a toothpick.
Use high-quality cocoa powder for intense flavor. Dark chocolate pairs especially well with the vanilla base.
| Variation | Key Ingredient | Prep Tip |
|---|---|---|
| PB&J | Peanut butter frosting | Pipe jam into center before baking |
| Chai Latte | Chai spice mix | Steep spices in warm milk first |
| Mimosa | Orange zest + champagne | Reduce champagne for syrup |
Citrus Enhancement Tips:
- Zest citrus directly into sugar – the oils infuse better
- Use room-temperature fruit for easier juicing
- Pair lemon with thyme or lavender for herbal notes
How to Store and Freeze
Keep your baked goods fresh and flavorful with these storage tips. Whether you’re saving leftovers or prepping for a party, the right methods lock in moisture and taste.
Airtight Storage Solutions
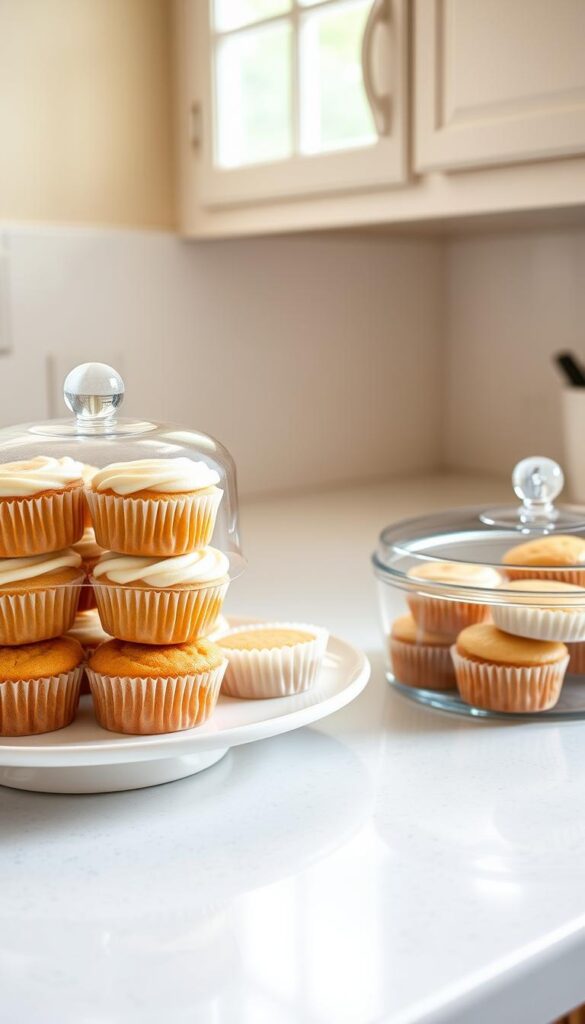
Use containers with tight-fitting lids to prevent staleness. Glass or BPA-free plastic works best. For frosting, layer parchment paper between treats to avoid smudging.
| Method | Duration | Best For |
|---|---|---|
| Fridge | 3 days | Frosted or filled |
| Freezer | 2–3 months | Unfrosted batches |
Freezing and Thawing
Freeze unfrosted treats in single layers first. Once solid, transfer to bags. Thaw at room temperature for 10 minutes before serving.
Based on reviews, frosting after thawing yields smoother results. For gifting, pack in cupcake carriers with humidity-control packs.
- Frosting Policy: Add it post-thaw for best texture.
- Travel Tip: Use snug boxes to prevent shifting.
Common Mistakes to Avoid
Even experienced bakers sometimes stumble on these common pitfalls—here’s how to avoid them. Simple errors, like overworking the batter or rushing the bake, can lead to dense or uneven results.
Overmixing the Batter
Gluten development is the enemy of fluffy treats. Stirring too much activates the proteins in flour, creating a tough texture. Use a spatula to fold dry ingredients gently—small lumps are better than overmixed batter.
Combine baking soda and salt with flour first to distribute evenly. Stop mixing as soon as the batter looks smooth. A few streaks are fine; they’ll vanish during baking.
Skipping the Toothpick Test
Timing is critical. Set your oven to the right temperature and track bake minutes closely. A toothpick should come out clean—no wet batter—but with a few crumbs attached.
Underbaked centers sink, while overbaked tops dry out. Check at the 18-minute mark, then every 60 seconds. Oven hotspots can vary, so rotate the pan if needed.
Conclusion
Mastering this recipe comes down to two things: precise measurements and temperature control. With a 96% success rate among home bakers, these treats deliver consistent results every time.
Don’t hesitate to experiment. Swap flavors, adjust sweetness, or try gluten-free flour. The base is versatile enough for endless creativity.
Need to plan ahead? These bake well in advance and freeze beautifully. Just thaw and frost when ready to serve.
Loved this recipe? Share your creations online and tag us! Stay tuned for more twists, like a dairy-free version coming soon.

