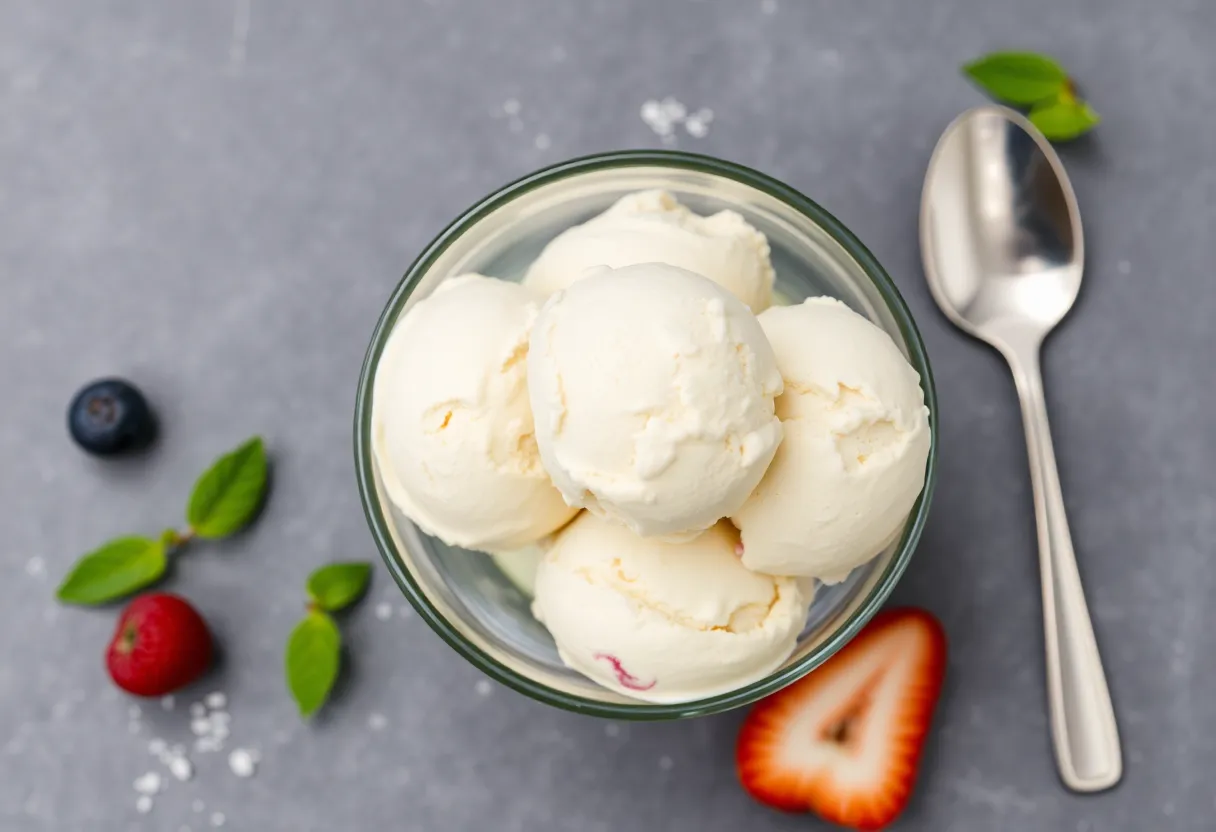
Homemade Ice Cream: The Ridiculously Easy Way to Beat Store-Bought
Store-bought ice cream is fine—if you enjoy paying $8 for air and stabilizers. But what if you could make something creamier, richer, and infinitely more satisfying in your own kitchen? No fancy machines, no obscure ingredients, just stupidly good ice cream.
The kind that makes you question why you ever settled for the freezer aisle. Ready to upgrade your dessert game? Let’s go.
Why This Recipe Works (Spoiler: It’s Magic)

This recipe skips the nonsense and delivers luxurious texture without an ice cream maker.
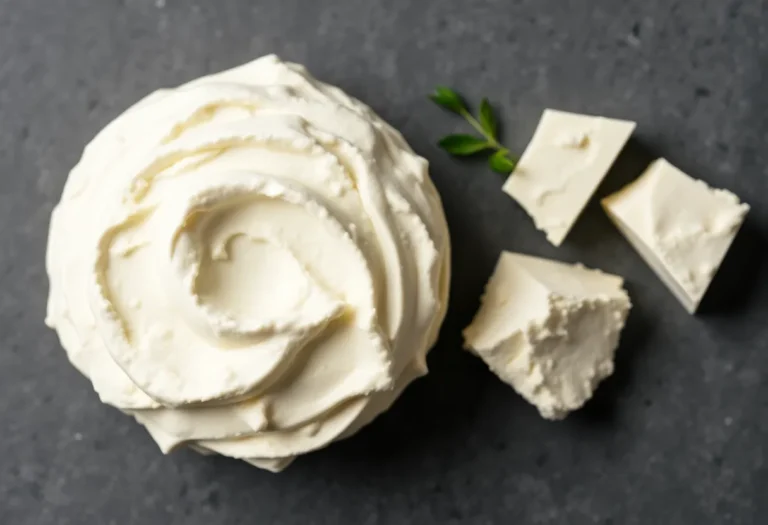
The secret? Heavy cream and sweetened condensed milk. The cream whips into fluffy peaks, while the condensed milk keeps everything smooth—no icy crystals here.
Add vanilla or mix-ins, and you’ve got a dessert that’ll make your taste buds throw a party.
Ingredients: Short, Sweet, and Foolproof
- 2 cups heavy cream (cold, or it won’t whip properly)
- 1 can (14 oz) sweetened condensed milk (the cheat code for creamy texture)
- 1 tsp vanilla extract (or swap for almond, mint, etc.)
- Pinch of salt (trust me, it balances the sweetness)
- Optional mix-ins: crushed cookies, chocolate chips, fruit—go wild.
Step-by-Step: How to Make Ice Cream Like a Pro

- Whip the cream: Beat the heavy cream in a chilled bowl until stiff peaks form. Don’t overdo it, or you’ll get butter (and regret).
- Fold in the good stuff: Gently mix in the condensed milk, vanilla, and salt. Keep it light—no aggressive stirring.
- Add mix-ins: Toss in cookies, fruit, or whatever else you’re obsessed with.
Chocolate chunks? Yes, please.
- Freeze it: Pour into a loaf pan, cover with plastic wrap, and freeze for 6+ hours. Patience is a virtue, but sneak a spoonful if you must.
Storage: Keep It Fresh (Because You Won’t Finish It All)
Store your ice cream in an airtight container with plastic wrap pressed against the surface.
This prevents freezer burn—because nothing’s sadder than icy, stale dessert. It’ll last up to 2 weeks, but let’s be real, it’ll vanish faster than your willpower.
Why This Recipe Wins at Life
No churning, no weird additives, just pure indulgence. It’s cheaper than store-bought, infinitely customizable, and guaranteed to impress.
Plus, you get bragging rights for making ice cream from scratch. Who needs Ben & Jerry’s when you’ve got this?
Common Mistakes (Don’t Be That Person)
- Using warm cream: Cold cream whips better. Science.
- Overmixing: Fold gently, or you’ll deflate the fluff.
- Skipping the salt: It’s not optional—it’s the difference between “good” and “where has this been all my life?”
Alternatives: Mix It Up

Dairy-free?
Swap heavy cream for coconut cream and use dairy-free condensed milk. Want a protein boost? Add a scoop of vanilla protein powder (just don’t blame me if it gets addictive).
For a lower-sugar version, reduce the condensed milk and add a sugar substitute—but IMO, life’s too short for sad ice cream.
FAQs
Can I use regular milk instead of heavy cream?
Nope. Heavy cream’s high fat content is what gives this ice cream its dreamy texture. Milk will leave you with a sad, icy mess.
Why is my ice cream too hard?
You overmixed or didn’t use enough condensed milk.
Or you froze it for, like, three days. Stick to the recipe, and you’re golden.
Can I make this without an electric mixer?
Sure, if you’ve got Popeye-level arm strength. A hand whisk works, but FYI, your biceps will hate you.
How do I make it extra creamy?
Add a tablespoon of vodka or bourbon before freezing.
The alcohol prevents crystallization (and makes adulthood more fun).
Final Thoughts
Homemade ice cream isn’t just dessert—it’s a power move. This recipe takes 10 minutes of effort and rewards you with a freezer full of joy. So ditch the store-bought stuff and make something worth Instagramming.
Your future self (and your taste buds) will thank you.