how to clean a burnt pot
Most cooks have encountered the frustration of a burnt pot at some point in their culinary adventures. Whether you accidentally left it on the stove a bit too long or the meal just didn’t go as planned, a charred pot can feel like an insurmountable challenge. Fortunately, cleaning a burnt pot is simpler than you might think. In this guide, you’ll discover effective techniques and household items that will help you restore your pot to its former glory, making it ready for your next delicious creation.
Identifying the Severity of the Burnt Surface
Assessing the Damage: Light Scorches vs. Deep Char
Determining the severity of the burn will guide your cleaning approach. Light scorches may present themselves as minor discolorations on the surface, while deep char often involves a thick, black crust that seems impossible to remove. For light scorches, a simple scrub with a gentle sponge, some warm soapy water, and a little elbow grease can work wonders, restoring the pot to its former glory. If the burnt area is extensive or has left a burnt smell lingering inside, you might need to explore deeper cleaning techniques.
In contrast, deep char requires a more hands-on approach. You may need to soak the pot in a baking soda solution or use specialized cleaners that are designed to tackle stubborn, baked-on residue. A plastic scraper can be an effective tool to gently chip away at the char, but you must do so carefully to avoid scratching the surface of your pot. Understanding how severe the burn is can save you time, frustration, and potentially a ruined piece of cookware.
Materials Matter: Understanding Your Pot’s Composition
The material of your pot significantly influences the cleaning strategy you’ll use. Different substances, such as stainless steel, cast iron, or non-stick coatings, respond differently to various cleaning agents and abrasive techniques. For instance, stainless steel pots can handle harsher scrubbing and chemical cleaners, while non-stick pans require gentle treatment to avoid damaging the coating. Cast iron, although durable, may require unique approaches to protect its seasoning while removing burnt food.
It’s key to identify your pot’s material before you start cleaning. Aluminum pots can discolor under harsh treatments, while enameled cast iron might chip or scratch easily. If you’re working with a beloved non-stick pan, consider using a soft sponge and a solution of vinegar and water, which is effective yet gentle. Tailoring your cleaning method to the pot’s composition not only maximizes the effectiveness of your efforts but also prolongs the life of your cookware.
Essential Tools and Ingredients for Effective Cleaning
Household Staples: Leveraging Baking Soda and Vinegar
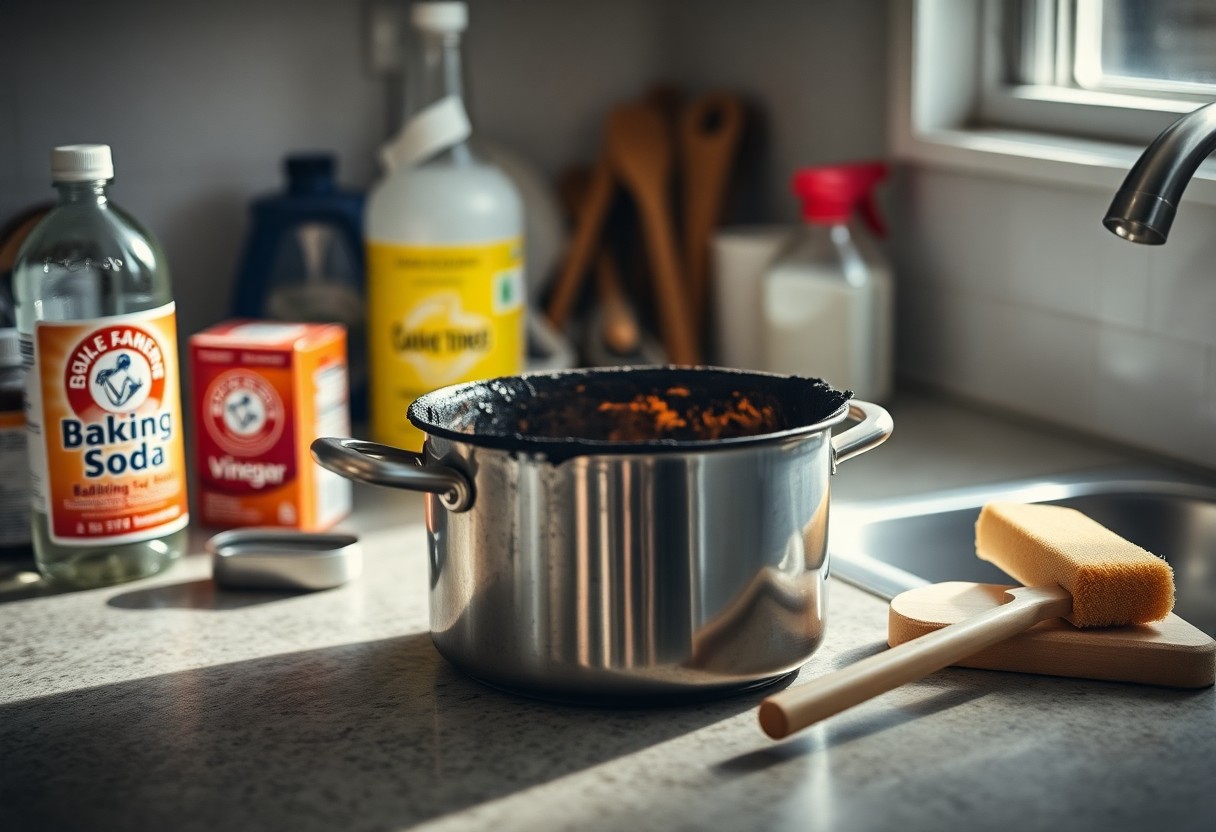
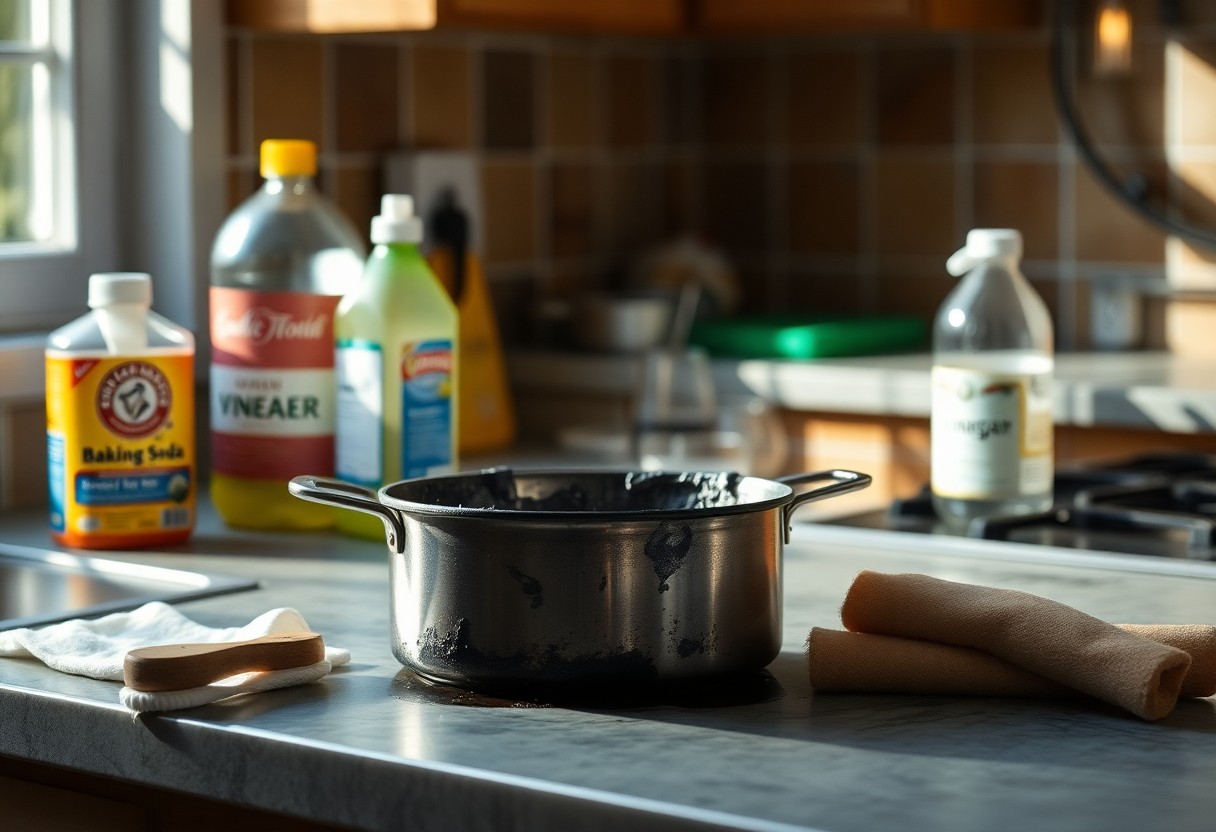
Baking soda and vinegar form a dynamic duo when it comes to tackling stubborn burnt residues. Baking soda, with its mildly abrasive nature, helps lift burnt food particles from the surface of your pot without scratching it. Combined with vinegar, which acts as a natural degreaser, this powerful mixture can dissolve tough stains and grime. Simply sprinkle baking soda generously over the affected area, then pour vinegar over it. The fizzing reaction not only makes the cleaning process fun to watch, but it also penetrates the hardened debris and loosens it from your pot’s surface.
Scraping Gear: Choosing the Right Tools for the Job
The right scraping tools can make all the difference in how effectively you clean a burnt pot. Selecting the appropriate utensil not only protects your cookware but also enhances your cleaning efficiency. Opt for silicone spatulas or wooden spoons, which can gently scrape away burnt bits without harming the pot’s surface. Avoid metal utensils, especially on non-stick cookware, as they can leave scratches that compromise the pot’s integrity.
If the debris is particularly stubborn, consider using a plastic scraper or spatula designed specifically for kitchen use. These tools are tough enough to tackle burnt patches but gentle enough to avoid scratching your cookware. Additionally, if you own a multi-surface scrubber like a Scouring Pad or Scotch-Brite, these can be effective if they have a non-scratch option. Keep a variety of scraping tools on hand to ensure you’re prepared for any level of burnt residue.
Step-by-Step Techniques for Reviving Your Pot
| Technique | Details |
|---|---|
The Soak Method: Harnessing Time for Easy Removal |
Effortlessly restore your burnt pot with the soak method, which utilizes the power of time and gentle materials. Fill the pot with warm water and add a few drops of dish soap. Let it soak for at least an hour, or overnight for serious stains. This approach softens the baked-on residues, making them easier to scrub away. |
The Scrub Technique: Applying the Right Pressure and Motion |
After your pot has soaked, it’s time to engage in some action. Using a non-abrasive sponge or brush, apply moderate pressure in circular motions to start lifting the burnt food particles. This technique not only targets stubborn spots but also helps to avoid scratching the pot’s surface. |
The Soak Method: Harnessing Time for Easy Removal
This method is perfect for those moments when you have the luxury of time. The combination of warm water and dish soap creates a gentle yet effective solution, especially for light to moderate burn marks. By letting your pot sit, you allow the soap to penetrate the baked-on food, breaking down the residues without you having to exert much effort. It’s a straightforward, no-fuss approach that can yield impressive results with minimal manual labor, leaving your pot ready for its next culinary adventure.
The Scrub Technique: Applying the Right Pressure and Motion
The scrub technique is about being strategic rather than forceful. After using the soak method, you can tackle any remaining stubborn stains. Grab a sponge that is tough on grime but gentle on your pot, and ensure your strokes are circular. This motion helps dislodge food particles effectively, while the pressure needs to be firm enough to scrub, yet not so excessive that it jeopardizes the integrity of your pot. Getting into those hard-to-reach corners is more manageable when you maintain this careful approach.
While scrubbing, consider using a mixture of baking soda and water for enhanced effectiveness. This combination creates a paste that can act as a mild abrasive, making it easier to lift residues without scratching the surface. Continue using this technique, and don’t hesitate to reapply it as needed. Eventually, even the most stubborn scorches will begin to lift, restoring your pot to a near-original state.
Preventative Measures: Stopping Burnt Pots Before They Happen
Smart Cooking Techniques: Avoiding Common Pitfalls
To steer clear of burnt pots, a few adjustments in your cooking techniques can go a long way. One of the simplest and most effective strategies is to pay close attention to temperature settings. When heating your pot or pan, start on a low to medium heat and gradually increase as necessary, especially for delicate dishes. Foods like sauces or stews can easily scorch if left on high heat without constant stirring. Additionally, use cookware that distributes heat evenly to avoid hot spots that can lead to burning. Your time in the kitchen will be much more enjoyable with a little extra caution.
Utilizing the correct amount of oil or liquid in your pots can also prevent age-old problems with food sticking or burning. Make sure there’s enough moisture in your cooking process; whether it’s water, broth or oil, these elements not only enhance flavor but also create a barrier between food and the pot surface. Finally, don’t forget about the importance of attentive cooking—stirring and monitoring your dishes regularly keeps their contents in check, significantly reducing the chances of a charred disaster.
Maintenance Tips: Keeping Your Cookware in Top Shape
Establishing a solid maintenance routine for your cookware can be a game-changer in avoiding burnt pots. Always ensure that your pots and pans are clean before use; any residual food particles can contribute to burning. Regularly examine your cookware for imperfections, as scratches and dull spots can impact its non-stick properties and heat distribution. This simple diligence can help prolong the life of your pots and keep cooking mishaps at bay.
Routine care is vital to ensuring your pots remain in optimal condition. After cooking, give your pots a gentle wash with soap and warm water, avoiding harsh abrasives that can scratch the surface. For non-stick pans, use wooden or silicone utensils to prevent damage. If you use metal utensils, opt for higher-quality options that won’t cause surface wear. Store your cookware in a manner that doesn’t scrape against other items, and consider using protective liners when stacking. The small effort put into maintenance yields significant benefits in the long run.
- Always clean pots before using them to avoid food particles causing burns.
- Check for scratches or damage that could affect cooking performance.
- Utilize gentle washing techniques and avoid abrasive materials.
- Use protective liners when storing pots to prevent scratches.
- Store cookware in a manner that avoids unnecessary contact.
By paying close attention to these maintenance tips, you can ensure that your cookware remains highly functional and does not contribute to burnt meals. Regular inspections and gentle care will keep your pots and pans looking brand new, allowing you to focus on creating fantastic dishes rather than worrying about cleanup. The last step in proactive maintenance involves familiarizing yourself with the manufacturer’s recommendations for care, as some materials have specific needs that may enhance their longevity even more.
- Familiarize yourself with the manufacturer’s care guidelines for your specific cookware types.
- Invest in high-quality pots and pans designed for longevity and performance.
- Consider using pots with a thick base, which helps in even heat distribution.
- Regularly check and replace any damaged or worn-out cookware.
Aftercare: Ensuring Longevity of Your Cookware
Once you’ve successfully cleaned your burnt pot, it’s time to focus on how to protect your cookware in the future. Maintaining the condition of your pots not only enhances your cooking experience but also saves you from future challenges of stubborn residue. Regular care and cautious handling can extend the life of your beloved pots. For effective tips on maintaining cookware, check out this Effective Burnt Pot Cleaning Tips.
Proper Cleaning Habits: Dos and Don’ts to Follow
Incorporating the right cleaning habits is important to keep your cookware in prime condition. Always allow your pots to cool before washing them to prevent warping or damage. Use gentle cleansers and avoid abrasive cleaning pads that can scratch the surface. For pots made of non-stick materials, utilize non-metal utensils to stir and serve, preventing any unnecessary wear. On the flip side, steer clear of using harsh chemicals that can compromise the integrity of your pots or mix different cleaning agents—this could lead to adverse reactions and spoil your cookware.
Avoid soaking your pots for long periods as it may cause rust or stains, particularly in stainless steel cookware. Instead, a quick rinse followed by a proper wash is ideal. You want to treat your cookware with care and consideration to keep it looking brand new for years to come.
Storing Tips: Protecting Your Pots from Future Damage
Properly storing your cookware prevents not only scratches and dents but also extends their usability. A few simple practices can significantly increase the longevity of your pots. Consider nesting your pots safely, using soft dividers or cloths between them to avoid abrasions. Hooks or racks are excellent alternatives for hanging pots, promoting air circulation and ensuring that they don’t get piled up.
- Store lids upside down on top of a pot to maximize space.
- Use pot protectors or soft towels to separate stacked pots.
- Keep your pots in a dry, cool area to avoid moisture accumulation.
- Regularly check for any damage to the surface before storing away.
Emphasizing the arrangement and organization of your pots can lead to a more harmonious kitchen environment. Ensure that all materials used for storage, such as shelf liners or dish racks, are non-abrasive and designed specifically for cookware. Arrange pots by frequency of use for easy access and cleaning, preserving the condition of your treasured pots. Thou shalt take care!
- Store pots with handles facing outward to prevent scratching.
- Keep your pots away from sharp items that could cause damage.
- Always wash and thoroughly dry your cookware before storage.
- Consider a dedicated cookware storage space to avoid clutter.
By being mindful of how you store your pots, you can avoid future damage and enjoy a clutter-free cooking space. Continuous attention to these details not only preserves your cookware but also makes cooking an enjoyable experience. Thou shalt keep your cookware during its prime!
To wrap up
To wrap up, effectively cleaning a burnt pot requires patience and the right methods tailored to the type of material your pot is made from. Whether you’re using baking soda and vinegar, boiling soap and water, or a commercial cleaner, the key lies in giving these techniques sufficient time to work on the stubborn residues. Make sure to test any method on a small, inconspicuous area first to avoid damaging your cookware. Always work gently and avoid abrasive scrubbers that can scratch the surface of your pot.
In your quest for a spotless pot, staying organized can make the process easier. Gather your supplies beforehand, and let the pot soak if needed. After following one of the outlined methods, a good rinse and thorough drying will ensure your pot is back in action. With these straightforward steps, you can restore your burnt pot and continue enjoying your culinary adventures without the worry of stubborn stains holding you back.
FAQ
Q: What materials do I need to clean a burnt pot?
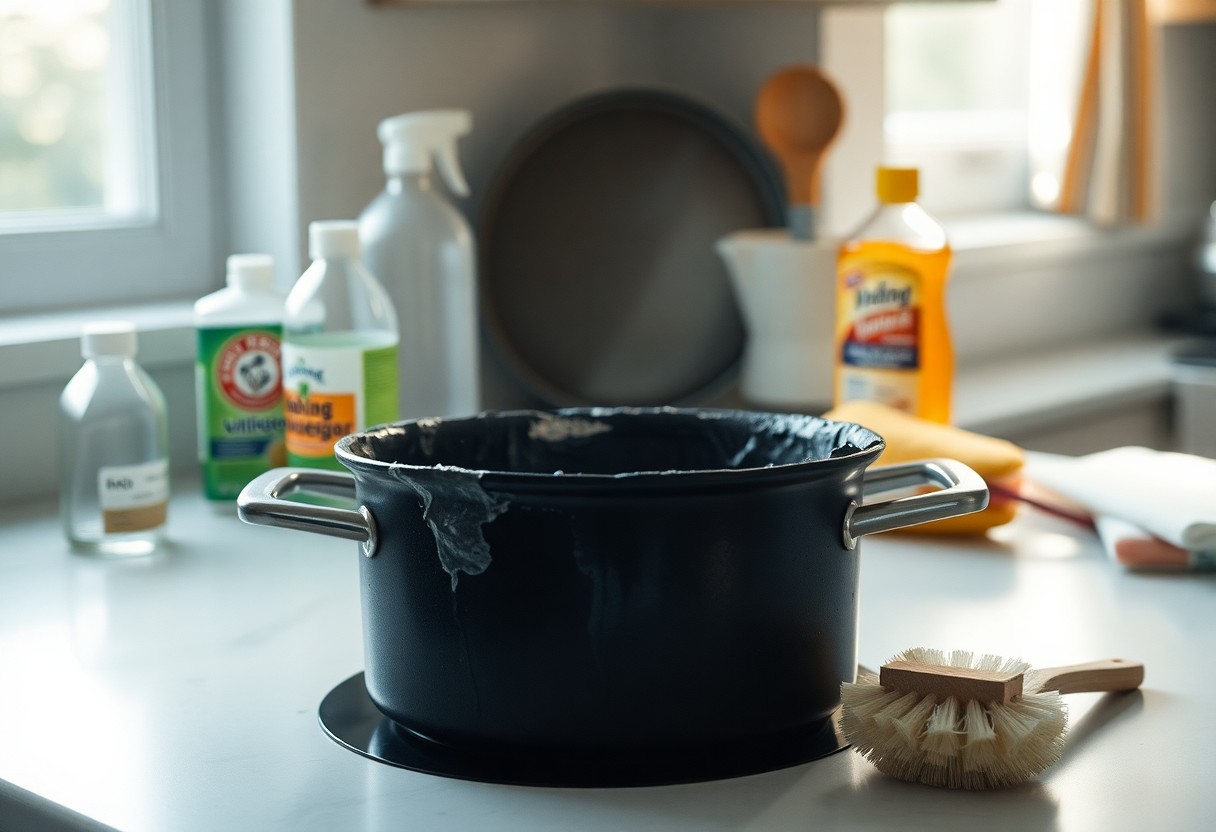
A: To clean a burnt pot, you typically need water, baking soda, white vinegar, dish soap, and a non-abrasive scrubbing pad. For tough stains, you may also use hydrogen peroxide or a commercial cleaner specifically designed for cookware. Always ensure that the cleaning materials you choose are safe for the type of pot you are using.
Q: How do I use baking soda to clean a burnt pot?
A: To use baking soda, sprinkle a generous amount directly onto the burnt sections of the pot. Then, add a little water to create a paste. Allow the mixture to sit for at least 15 minutes, then scrub with a non-abrasive pad or sponge. Rinse thoroughly with warm water. For heavier burnt residue, repeat as necessary.
Q: Can I use vinegar to clean a burnt pot?
A: Yes, vinegar is effective for cleaning burnt pots. Fill the pot with equal parts water and white vinegar, and bring the mixture to a boil. Once it boils, turn off the heat and let it sit for about 30 minutes. This method can help loosen the burnt food. Afterward, wash the pot with dish soap and scrub gently to remove any remaining residue.
Q: What should I avoid when cleaning a burnt pot?
A: Avoid using steel wool or other abrasive scrubbers, as they can scratch the surface of the pot and cause permanent damage. Additionally, refrain from using harsh chemicals that may not be safe for cookware, especially non-stick surfaces. Always check the manufacturer’s instructions for cleaning recommendations specific to your pot.
Q: How can I prevent burning my pot in the future?
A: To prevent burning your pot in the future, practice careful cooking by keeping an eye on what you are preparing, particularly when using high heat. Consider using heat settings that are appropriate for the type of food being cooked and the material of the pot. Regularly stirring food and adding liquid can help as well, especially for dishes that tend to stick. Using appropriate-sized pots for the quantity of food can also minimize the chances of burning.