
Introduction
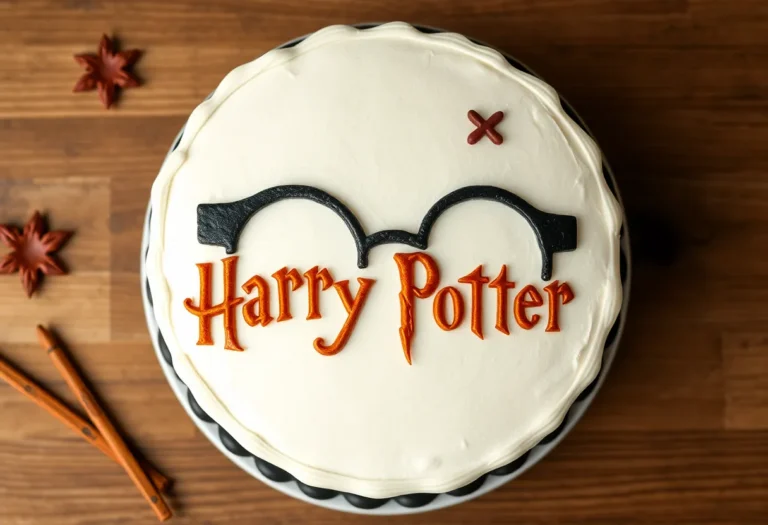
Birthday cakes don’t just taste good—they need to look like they belong on Instagram. Aesthetic birthday cakes are the ultimate flex: they’re delicious, photogenic, and make people think you’ve got your life together (even if you don’t). Want a cake that stops scrolling and starts drooling?
This isn’t just a recipe—it’s a masterpiece in sugar form.
Why settle for a sad, store-bought sheet cake when you can make something that looks like it came from a high-end bakery? This cake isn’t just pretty; it’s stupidly easy to make. No fancy tools, no Michelin-star skills—just a foolproof guide to baking glory.
Ready to level up your dessert game?
What Makes This Recipe So Good
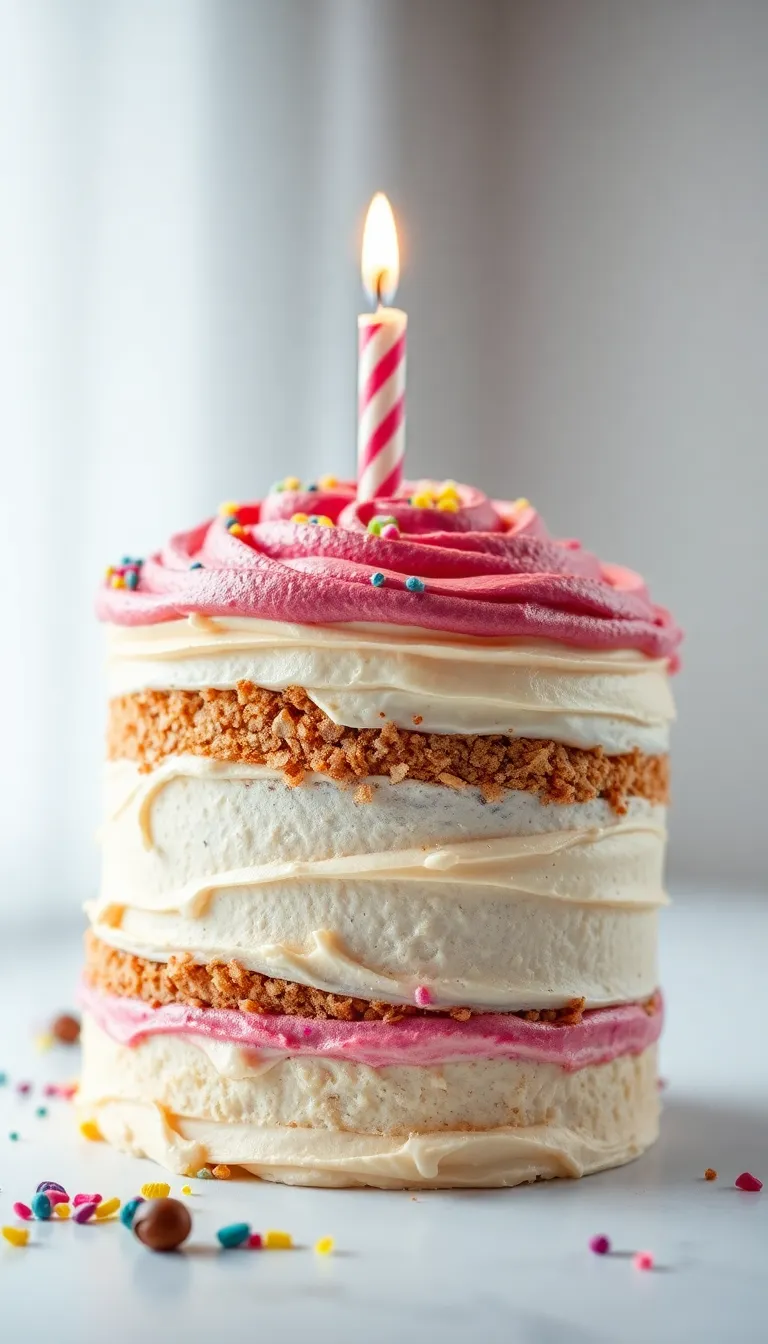
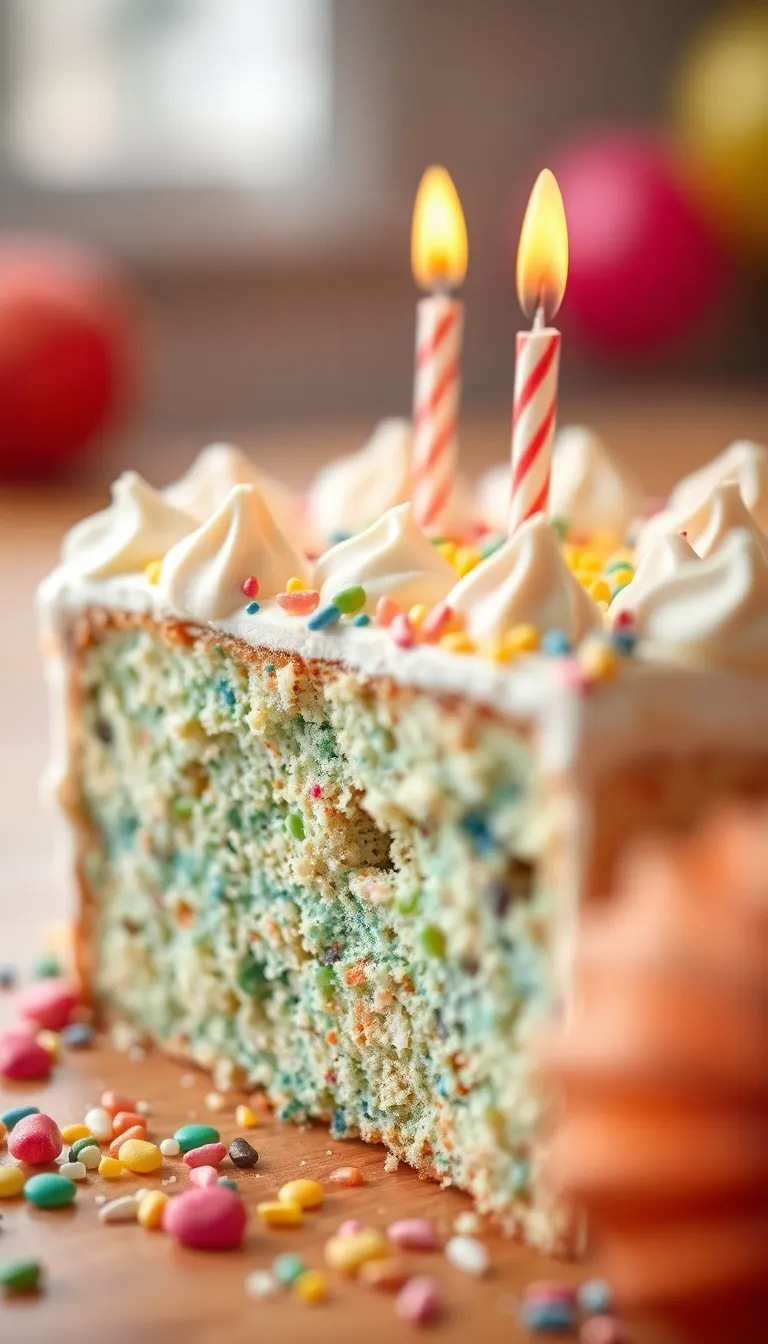
This cake nails three things: flavor, texture, and visual appeal. The crumb is tender but sturdy enough to stack, the frosting is silky without being cloying, and the design? Minimalist yet eye-catching.
It’s the kind of cake that makes people whisper, “You made this?”
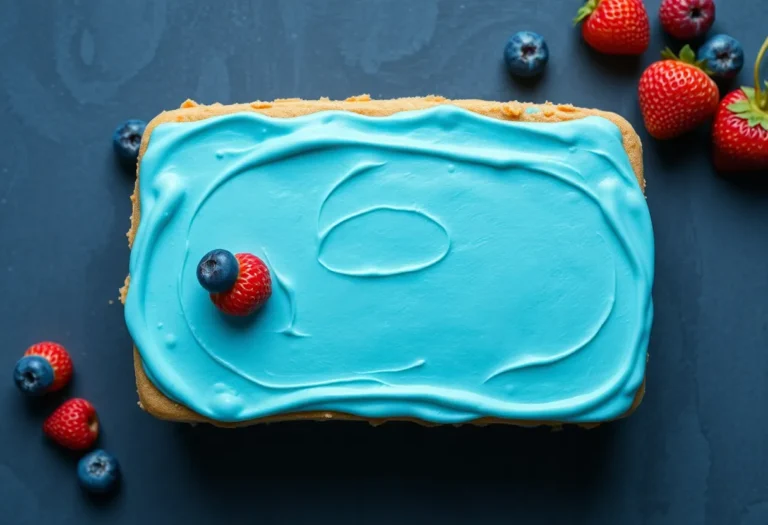
Plus, it’s customizable. Swap colors, flavors, or toppings to match any theme. Birthday in December?
Add peppermint. Summer baby? Throw on fresh berries.
The base recipe is your blank canvas—go wild.
Ingredients
- 2 ½ cups all-purpose flour (spooned and leveled)
- 2 ½ tsp baking powder (not soda—trust me)
- ½ tsp salt (skip this and your cake will taste like regret)
- 1 cup unsalted butter (room temp, unless you enjoy lumpy batter)
- 2 cups granulated sugar (yes, it’s a lot—it’s a birthday cake)
- 4 large eggs (also room temp, unless you like deflated dreams)
- 1 tbsp vanilla extract (the good stuff, not that imitation nonsense)
- 1 cup whole milk (low-fat milk is for cereal, not cakes)
For the Frosting
- 1 ½ cups unsalted butter (again, room temp—this is non-negotiable)
- 5 cups powdered sugar (sifted, unless you enjoy gritty frosting)
- 2 tsp vanilla extract
- 3–4 tbsp heavy cream (adjust for consistency)
- Gel food coloring (optional, but highly recommended for ~aesthetics~)
Step-by-Step Instructions
- Prep your pans. Grease two 8-inch round pans, line with parchment, and dust with flour. No one likes a cake that sticks.
- Whisk dry ingredients. Flour, baking powder, and salt in a bowl. Set aside.
This isn’t rocket science—yet.
- Cream butter and sugar. Beat until light and fluffy (about 3 minutes). If your butter isn’t soft, you’ll hate your life.
- Add eggs and vanilla. One egg at a time, mixing well after each. Scrape the bowl—hidden pockets of butter are the enemy.
- Alternate dry ingredients and milk. Start and end with dry mix.
Overmixing = tough cake. Don’t do it.
- Bake at 350°F for 25–30 minutes. Toothpick should come out clean. If it doesn’t, pray and give it 2 more minutes.
- Cool completely. Frosting a warm cake is a one-way ticket to Slop City.
- Make the frosting. Beat butter until smooth, add powdered sugar slowly, then vanilla and cream.
Whip until fluffy.
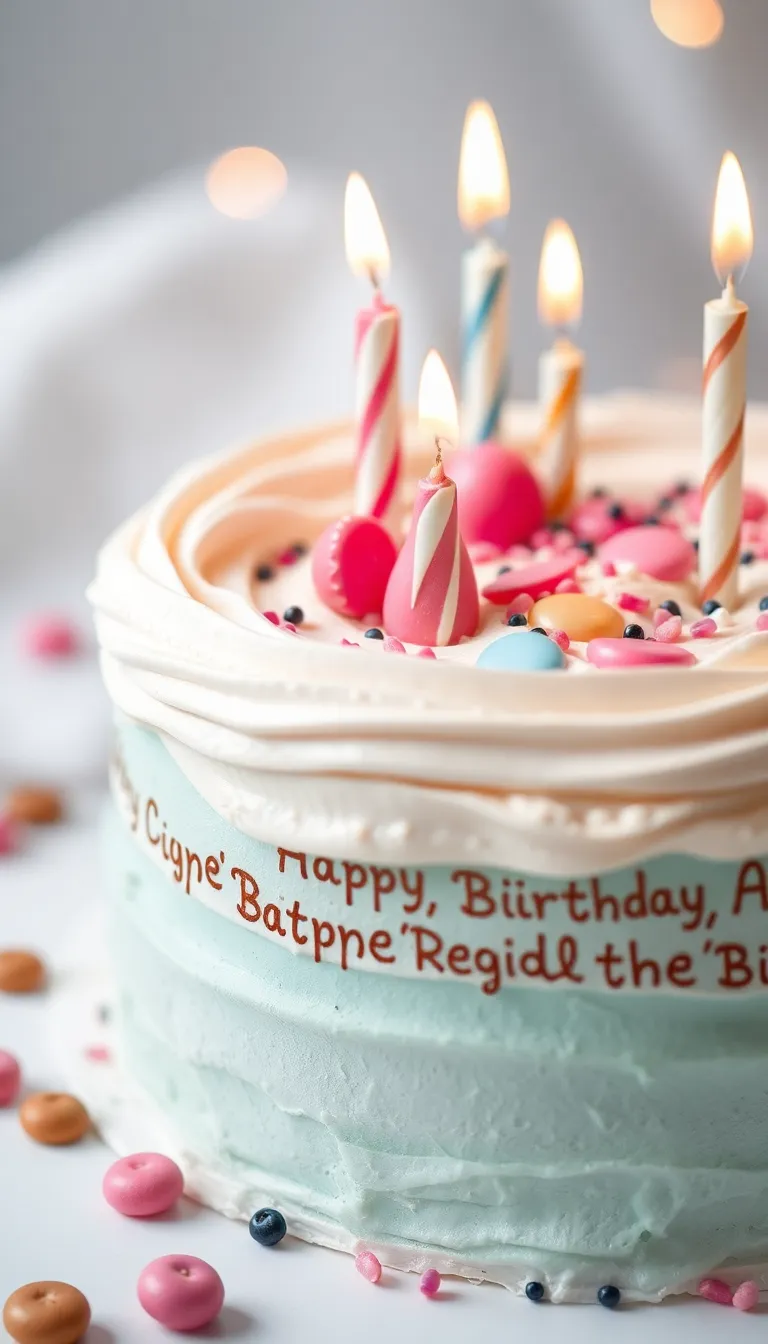
- Assemble and decorate. Stack layers with frosting, crumb coat, chill, then go wild with the final design. Pastel swirls? Gold leaf?
Your call.
Storage Instructions
Store the cake in an airtight container at room temp for up to 2 days. If it’s hot or humid, fridge it (but let it come to room temp before serving—cold cake is a crime). For longer storage, freeze unfrosted layers wrapped in plastic for up to 3 months.
Benefits of This Recipe
This cake is versatile, forgiving, and impressive.
It’s sturdy enough for tiered designs but moist enough to eat plain. The frosting holds its shape for piping but isn’t teeth-achingly sweet. And because it’s a classic vanilla base, you can tweak it endlessly—add citrus zest, cocoa, or even matcha for a twist.
Common Mistakes to Avoid
- Using cold ingredients. Room temp butter and eggs mix better.
Science.
- Overmixing the batter. Gluten development = dense cake. Mix until just combined.
- Skipping the crumb coat. Frosting crumbs in your final layer? Not cute.
- Rushing the cooling process. Warm cake + frosting = melty mess.
Patience is key.
Alternatives

Not feeling vanilla? Try these swaps:
- Chocolate: Replace ½ cup flour with cocoa powder.
- Lemon: Add 2 tbsp zest and swap milk for lemon juice + buttermilk.
- Dairy-free: Use plant-based butter and milk (oat milk works best).
- Gluten-free: Swap flour for a 1:1 GF blend (add ½ tsp xanthan gum).
FAQ
Can I use salted butter?
Technically, yes—but adjust the added salt in the recipe. IMO, unsalted gives you better control.
Also, who wants a salty cake?
Why gel food coloring?
Liquid coloring waters down the frosting. Gel gives vibrant color without messing with consistency. Plus, a little goes a long way.
Can I make this ahead?
Absolutely.
Bake layers up to 2 days in advance (wrap tightly). Frosting lasts a week in the fridge—just rewhip before using.
My cake sunk in the middle. Help?
Either you opened the oven too early, underbaked it, or overmixed the batter.
FYI, oven thermometers are $10—worth every penny.
Final Thoughts
This aesthetic birthday cake is your ticket to dessert fame. It’s simple enough for beginners but fancy enough to impress even your most judgmental aunt. Bake it, style it, post it—then watch the compliments roll in.
Happy baking, and may your Instagram likes be ever in your favor.