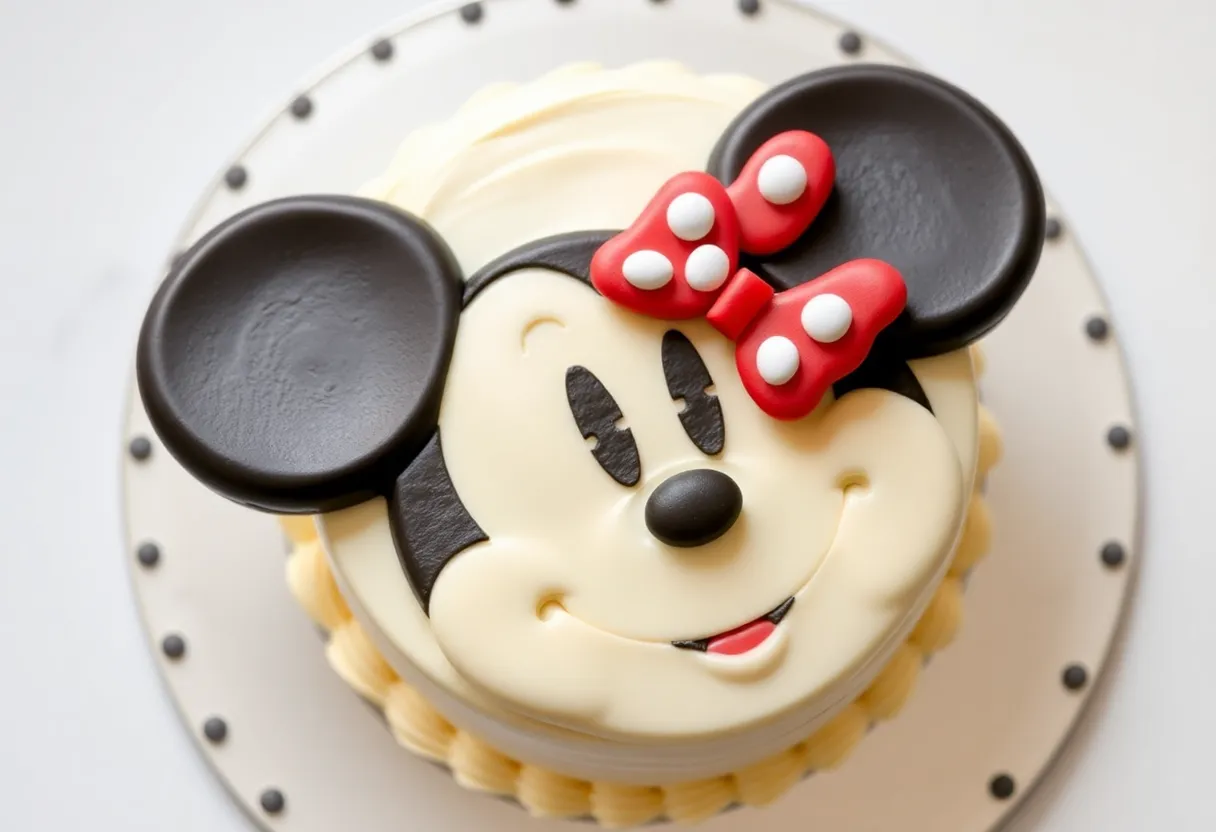
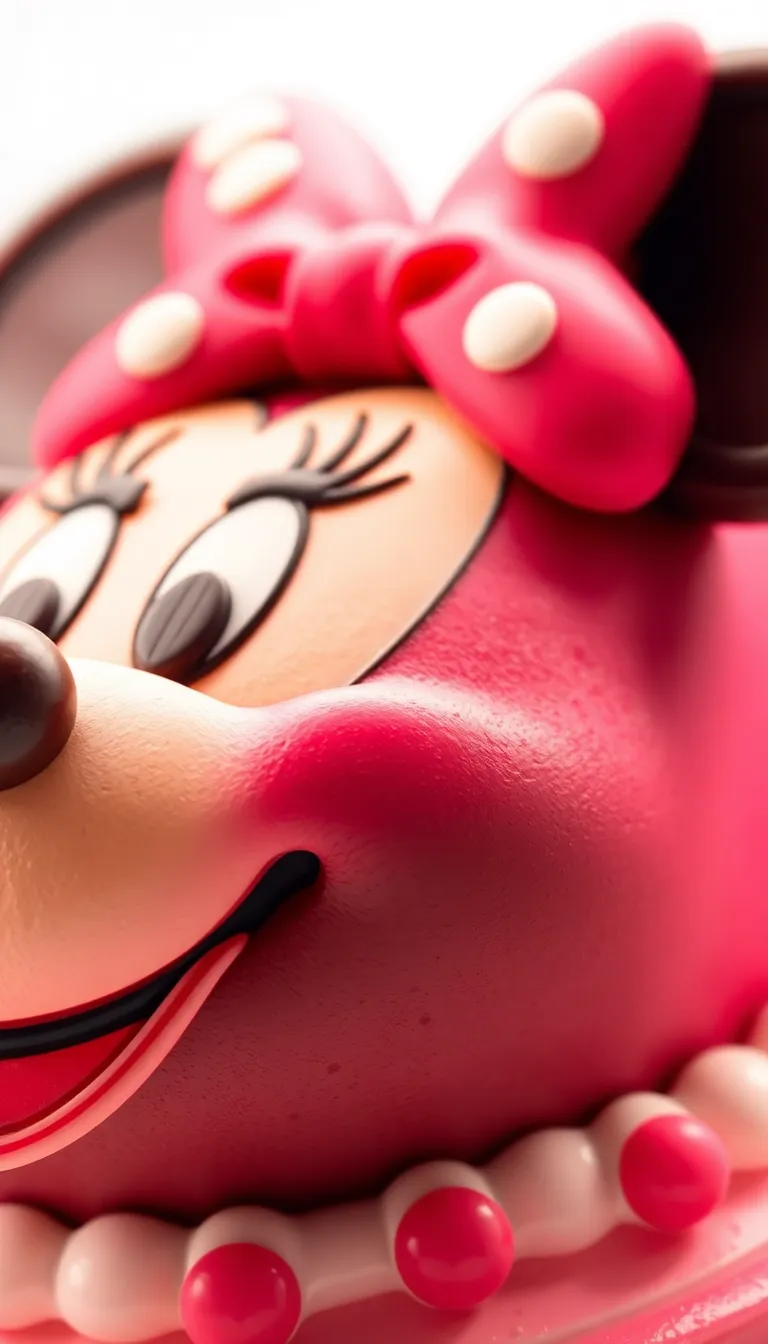
Minnie Mouse Cake: The Ultimate Party Showstopper
Picture this: a cake so iconic, it instantly turns any party into a Disney-worthy celebration. Kids scream. Adults sneak extra slices.
Instagram feeds weep with envy. The Minnie Mouse Cake isn’t just dessert—it’s a memory machine. Whether it’s a birthday, baby shower, or “I just really love Minnie” day, this cake delivers.
And guess what? You don’t need a fairy godmother to make it. Just a mixing bowl, some patience, and maybe a little glitter (because why not?).
Ready to bake magic?
What Makes This Recipe So Good
This isn’t your average box-mix cake. The Minnie Mouse Cake combines fluffy layers, rich frosting, and adorable decor that even Mickey would approve of. The secret?
A perfect balance of sweetness and structure. The cake holds its shape for those iconic ears but stays moist enough to devour in one sitting. Plus, the design is simple enough for beginners but impressive enough to fool people into thinking you’re a pastry pro.
Win-win.
Ingredients
Grab these—no magic wand required:
- Cake: 2 ½ cups all-purpose flour, 2 ½ tsp baking powder, ½ tsp salt, 1 cup unsalted butter (room temp), 2 cups sugar, 4 eggs, 1 tbsp vanilla extract, 1 cup whole milk.
- Frosting: 3 cups powdered sugar, 1 cup butter (room temp), 2 tsp vanilla extract, 2-3 tbsp heavy cream, pink and black food coloring.
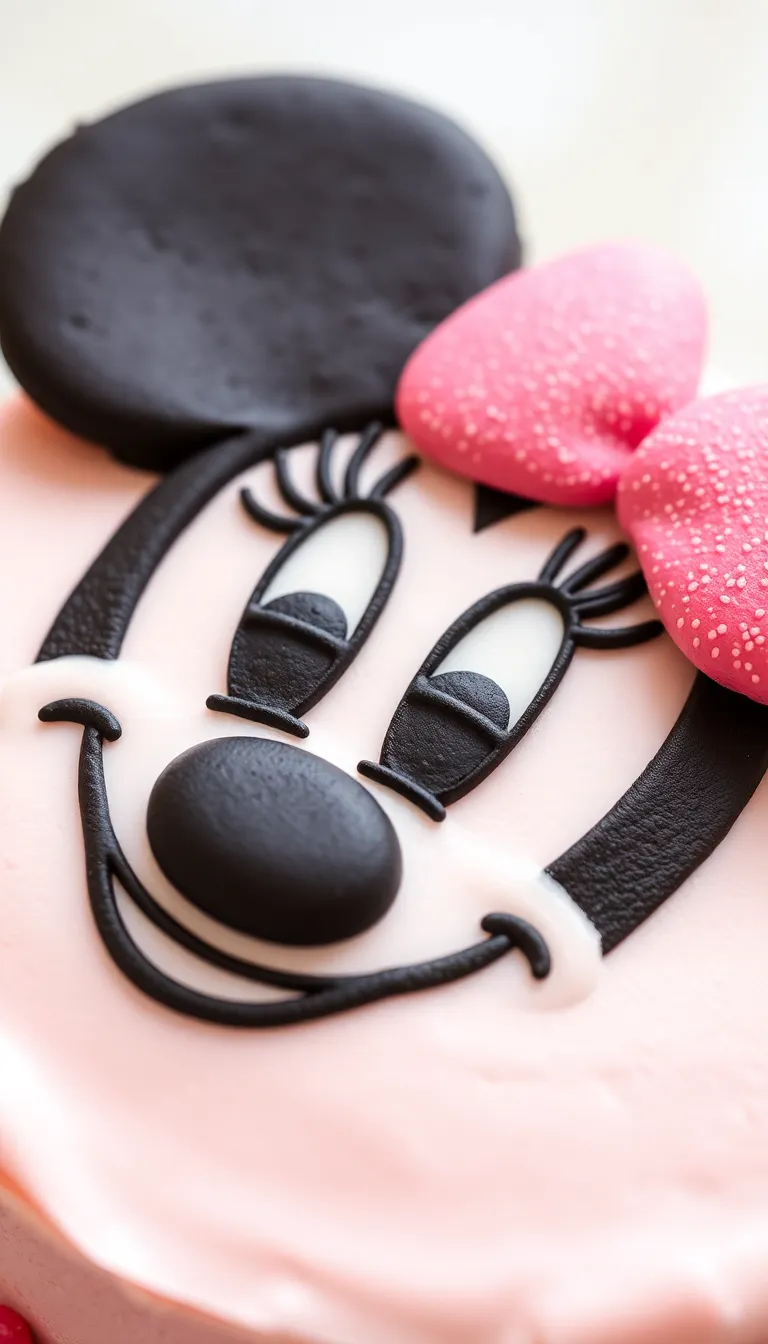
- Decor: Mini Oreos (for ears), white fondant (optional bows), sprinkles (because chaos is fun).
Step-by-Step Instructions
- Prep: Preheat oven to 350°F. Grease two 8-inch round pans and one small oven-safe bowl (for the iconic head shape).
- Mix dry ingredients: Whisk flour, baking powder, and salt in a bowl. Set aside.
- Cream butter and sugar: Beat butter and sugar until fluffy.
Add eggs one at a time, then vanilla.
- Alternate wet and dry: Mix in flour mixture and milk in batches, starting and ending with flour.
- Bake: Pour batter into pans and bowl. Bake rounds for 25-30 mins, the bowl for 35-40. Cool completely.
- Frosting: Beat butter, powdered sugar, vanilla, and cream until smooth.
Color ⅓ pink, leave the rest white.
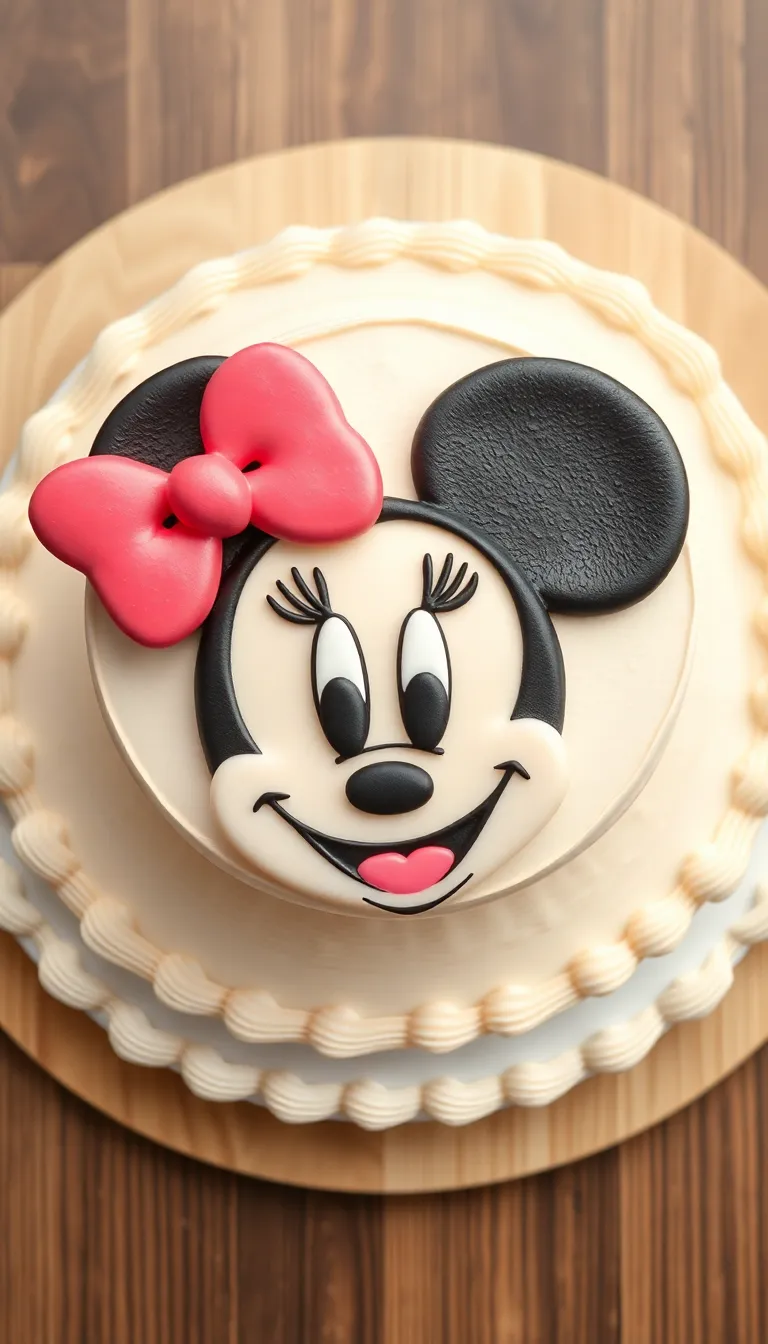
- Assemble: Stack rounds for the head, attach the bowl cake as a nose. Frost, add Oreo ears, and decorate with fondant bows.
Storage Instructions
Store this masterpiece in an airtight container at room temp for up to 3 days. If it’s hotter than Disney in July, refrigerate it—but let it sit at room temp before serving to avoid sad, hard frosting.
For longer storage, freeze undecorated layers wrapped in plastic for up to a month. Thaw, frost, and pretend you just baked it.
Benefits of This Recipe

Beyond the obvious (it’s freaking adorable), this cake is versatile. Swap colors for a Mickey version or go rogue with rainbow sprinkles.
It’s also a great way to hide baking sins—lopsided layers? Just cover them with more frosting. Plus, kids love “helping” with decor, making it a sneaky family activity.
And let’s be real: anything that earns you “Best Baker Ever” cred is worth it.
Common Mistakes to Avoid
- Overbaking: Dry cake = sad Minnie. Use a toothpick to check for crumbs, not cleanliness.
- Warm frosting: If your buttercream looks like soup, chill it. Nobody wants a melting Minnie.
- Skimping on decor: Those ears need to be secure.
Use extra frosting or toothpicks as glue.
Alternatives
Not feeling the classic look? Try these twists:
- Chocolate version: Swap ½ cup flour for cocoa powder in the cake and frosting.
- Vegan: Use plant-based butter, flax eggs, and almond milk.
- Cupcake hack: Bake cupcakes, arrange three in a triangle, and frost as Minnie’s face.
FAQs
Can I use boxed cake mix?
Sure, if you’re into shortcuts (no judgment). Just adjust bake times and expect a slightly denser texture.
How do I make the ears stay put?
Frosting is your friend.
Smear a thick layer where the Oreos attach, or use toothpicks for extra security. Gravity is the enemy.
Can I make this ahead of time?
Absolutely. Bake layers up to 2 days in advance, wrap tightly, and frost the day of.
Your future self will thank you.
Final Thoughts
The Minnie Mouse Cake is more than dessert—it’s a mood. It’s joy, nostalgia, and sugar all rolled into one. Whether you nail it or accidentally create a “abstract” Minnie, it’ll be a hit.
So grab that spatula, channel your inner Disney magic, and bake something unforgettable. And if all else fails? Just add more sprinkles.
Always more sprinkles.