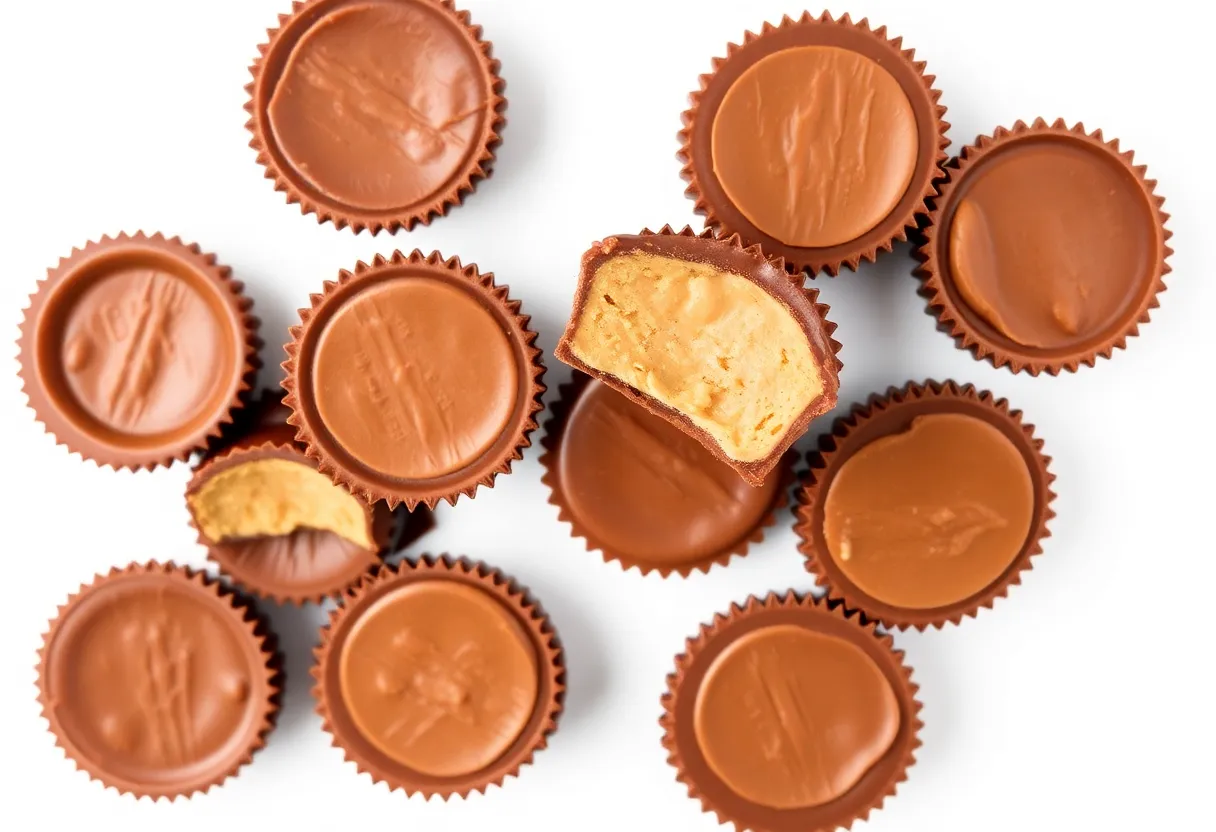
Peanut Butter Cups: The No-Brainer Treat You’ll Obsess Over
Imagine biting into something so stupidly simple yet mind-blowingly delicious that you question why you ever bought store-bought versions. Peanut butter cups are the ultimate cheat code—minimal effort, maximum reward. They’re the dessert that makes you look like a culinary genius while requiring the skill level of a toddler.
Seriously, if you can spread butter on toast, you can make these. Why pay premium prices for the fancy brands when you can whip up a batch in 15 minutes? Let’s get to it.
Why This Recipe Slaps
Homemade peanut butter cups demolish the competition for three reasons.
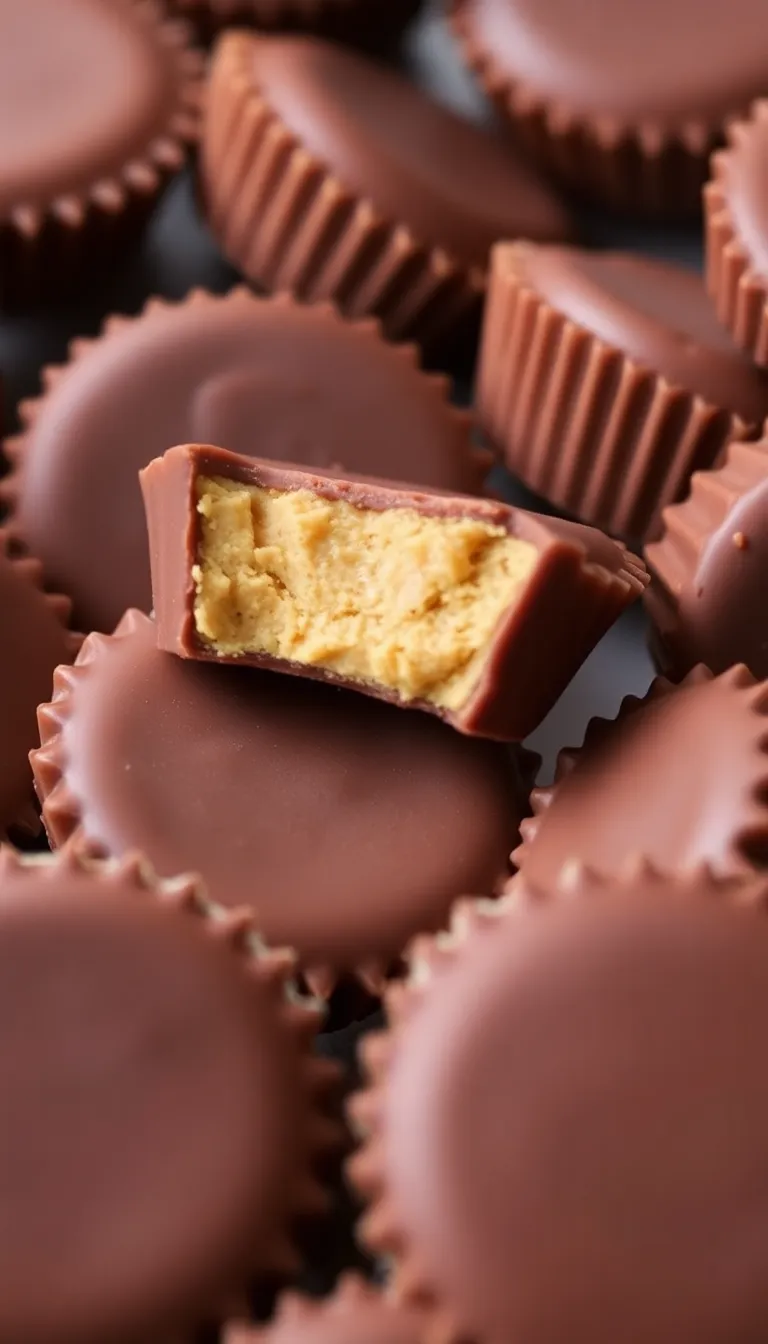
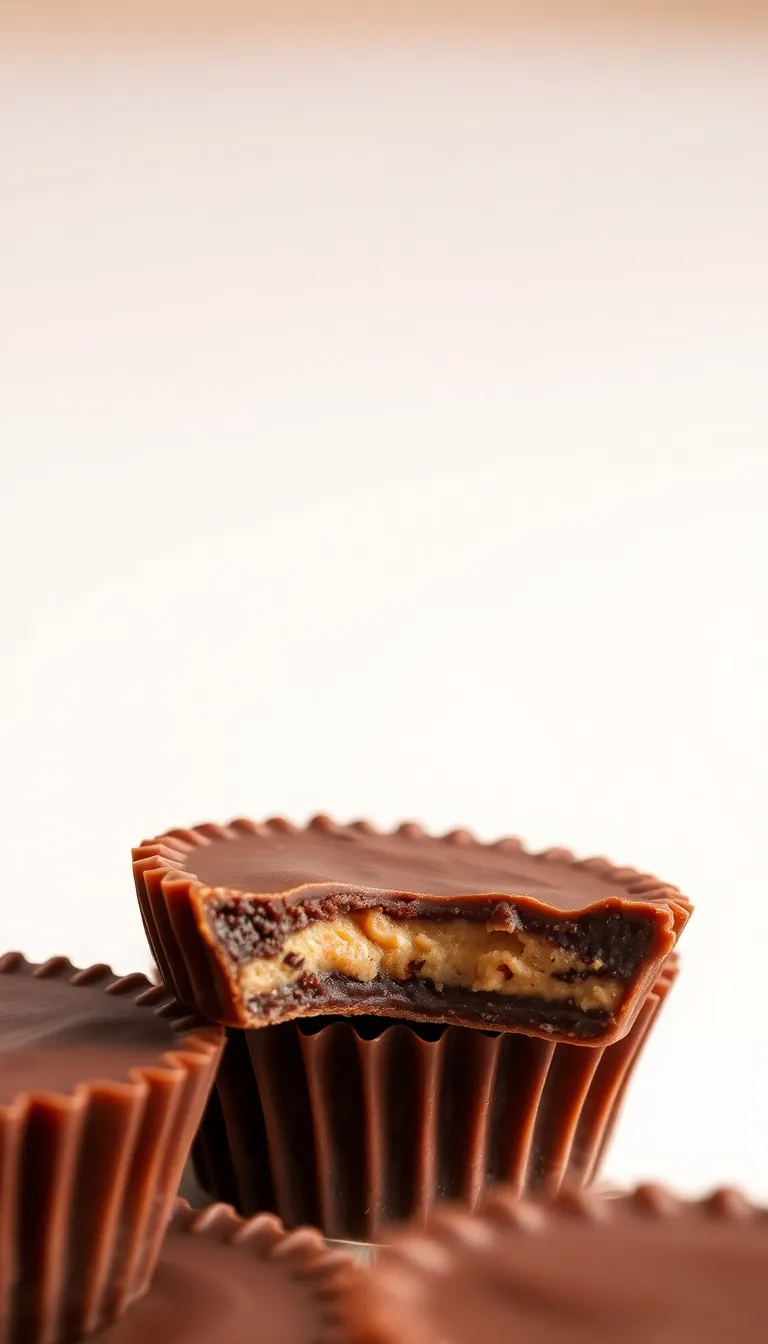
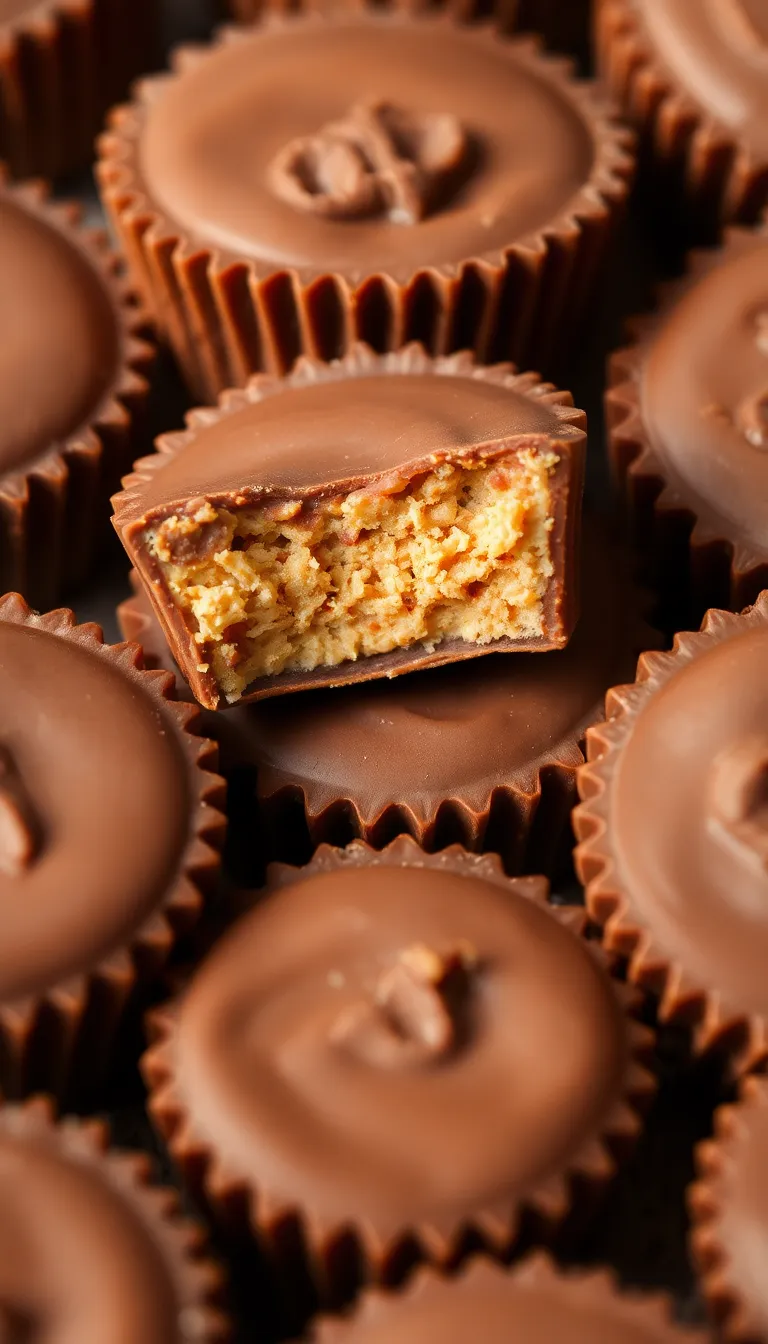
First, you control the ingredients—no mystery additives or questionable preservatives. Second, the texture is next-level: creamy peanut butter hugged by melt-in-your-mouth chocolate. Third, customization is king.
Like it salty? Add flaky sea salt. Prefer crunch?
Toss in chopped peanuts. Store-bought versions can’t compete with your creativity.
Ingredients You’ll Need
- 1 cup creamy peanut butter (or crunchy if you’re rebellious)
- 1/4 cup powdered sugar (optional, but highly recommended)
- 1/4 tsp salt (skip if your peanut butter is already salted)
- 2 cups semi-sweet chocolate chips (or dark chocolate if you’re fancy)
- 1 tbsp coconut oil (makes the chocolate silky smooth)
- Mini cupcake liners (because no one wants a sticky mess)
Step-by-Step Instructions
- Mix the peanut butter filling: In a bowl, combine peanut butter, powdered sugar, and salt. Stir until smooth.
Taste it—because why not?
- Melt the chocolate: Toss chocolate chips and coconut oil into a microwave-safe bowl. Heat in 30-second bursts, stirring between each, until fully melted. Don’t burn it—nobody likes regret.
- Layer the cups: Drop a teaspoon of melted chocolate into each cupcake liner.
Spread it slightly up the sides. This is the foundation of your masterpiece.
- Add the peanut butter: Scoop a small ball of peanut butter mixture (about 1/2 tsp) and flatten it slightly. Place it in the center of the chocolate layer.
Try not to eat all the filling.
- Seal the deal: Cover the peanut butter with another teaspoon of melted chocolate. Smooth the top. Optional: sprinkle with sea salt or crushed peanuts for extra flair.
- Chill: Pop the cups in the fridge for at least 30 minutes.
Patience is a virtue, but sneak one early if you must.
How to Store These Bad Boys
Keep your peanut butter cups in an airtight container in the fridge for up to 2 weeks. If they last that long. For longer storage, freeze them for up to 3 months.
Pro tip: Layer them between parchment paper to prevent sticking. FYI, they taste amazing straight from the freezer—cold, crunchy, and addictive.
Why You Should Make These Immediately
Beyond being ridiculously tasty, these cups are cheaper and healthier than store-bought. You skip the corn syrup and weird stabilizers.
Plus, they’re customizable—swap in almond butter, use vegan chocolate, or go sugar-free. They’re also the perfect last-minute gift. Who wouldn’t love a jar of homemade peanut butter cups?
Exactly.
Common Mistakes to Avoid
- Using low-quality chocolate: Garbage in, garbage out. Splurge on decent chocolate—it’s 90% of the experience.
- Skipping the coconut oil: This keeps the chocolate smooth and easy to work with. Don’t be stubborn.
- Overfilling the cups: A little peanut butter goes a long way.
Too much, and you’ll overpower the chocolate.
- Not lining the molds: Unless you enjoy chiseling peanut butter cups off a tray, use liners.
Alternatives for the Adventurous
Not a peanut butter purist? Try these twists:
- Almond or cashew butter: Equally delicious, slightly fancier.
- White chocolate: Swap the semi-sweet for a sweeter vibe.
- Spicy kick: Add a pinch of cayenne to the peanut butter. Trust me.
- Protein boost: Mix collagen powder into the filling.
Fitness goals, meet dessert.
FAQs
Can I use natural peanut butter?
Yes, but stir it well first. Natural peanut butter tends to be oilier, which can make the filling too soft. IMO, the texture is better with regular peanut butter.
Why is my chocolate cracking?
You probably didn’t let the layers set properly.
Chill the first chocolate layer for 10 minutes before adding the peanut butter. Also, avoid over-stirring the melted chocolate.
Can I make these vegan?
Absolutely. Use dairy-free chocolate and vegan peanut butter (check for sneaky additives).
Coconut oil is already plant-based, so you’re golden.
How do I make them look professional?
Use a piping bag for the chocolate layers, and smooth the tops with a spoon. A light sprinkle of flaky salt or cocoa powder makes them Insta-worthy.
Can I double the recipe?
Of course. Just don’t blame me when you eat half the batch in one sitting.
Final Thoughts
Peanut butter cups are the ultimate proof that great things come in small packages.
They’re easy, customizable, and universally loved. Once you make them at home, you’ll never go back to the overpriced, underwhelming store versions. Now go forth and conquer your kitchen.
Your future self (and anyone you share these with) will thank you.