Why You’ll Never Buy Store-Bought Again
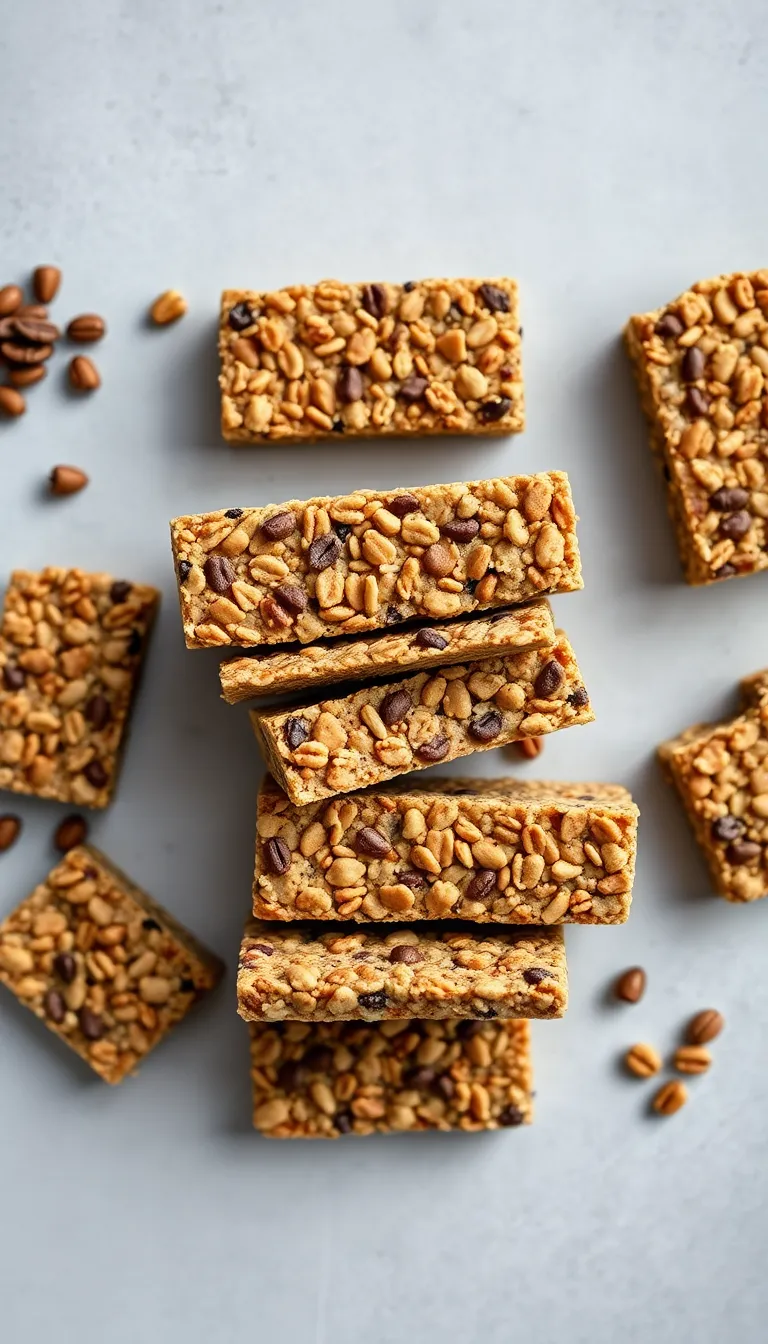
Store-bought granola bars are a scam. They’re either packed with sugar or taste like cardboard—no in-between. What if you could make better, cheaper, and healthier bars at home in under 20 minutes?
No fancy equipment, no weird ingredients, just pure, chewy, crunchy goodness. And guess what? You’ll never go back to those overpriced, underwhelming supermarket options.
Let’s fix your snack game.
What Makes This Recipe So Good
These granola bars are customizable, no-bake, and packed with real ingredients. Unlike store-bought versions, you control the sweetness, texture, and add-ins. Want extra chocolate?
Go for it. Prefer nuts over seeds? Done.
They’re also ridiculously easy—mix, press, chill, and devour. No oven, no mess, no regrets.
Ingredients
Here’s what you’ll need (spoiler: it’s all pantry staples):
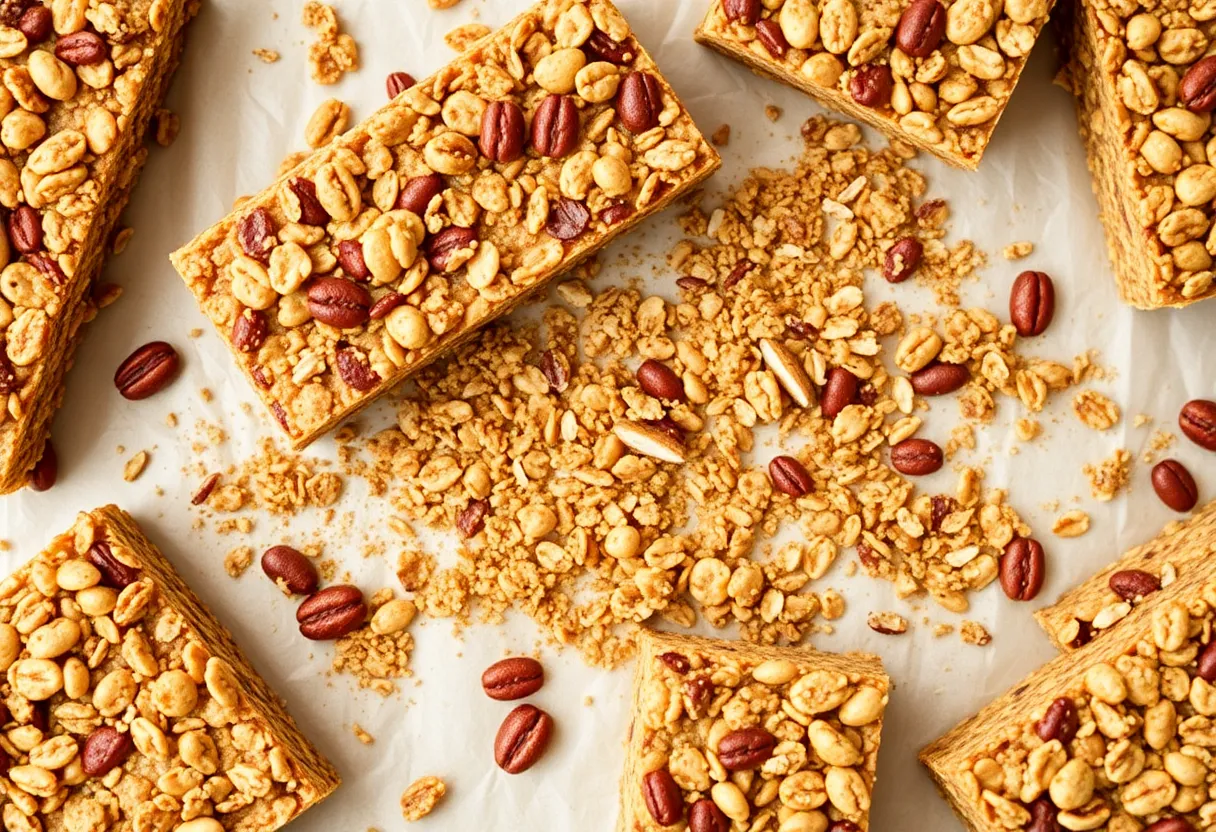
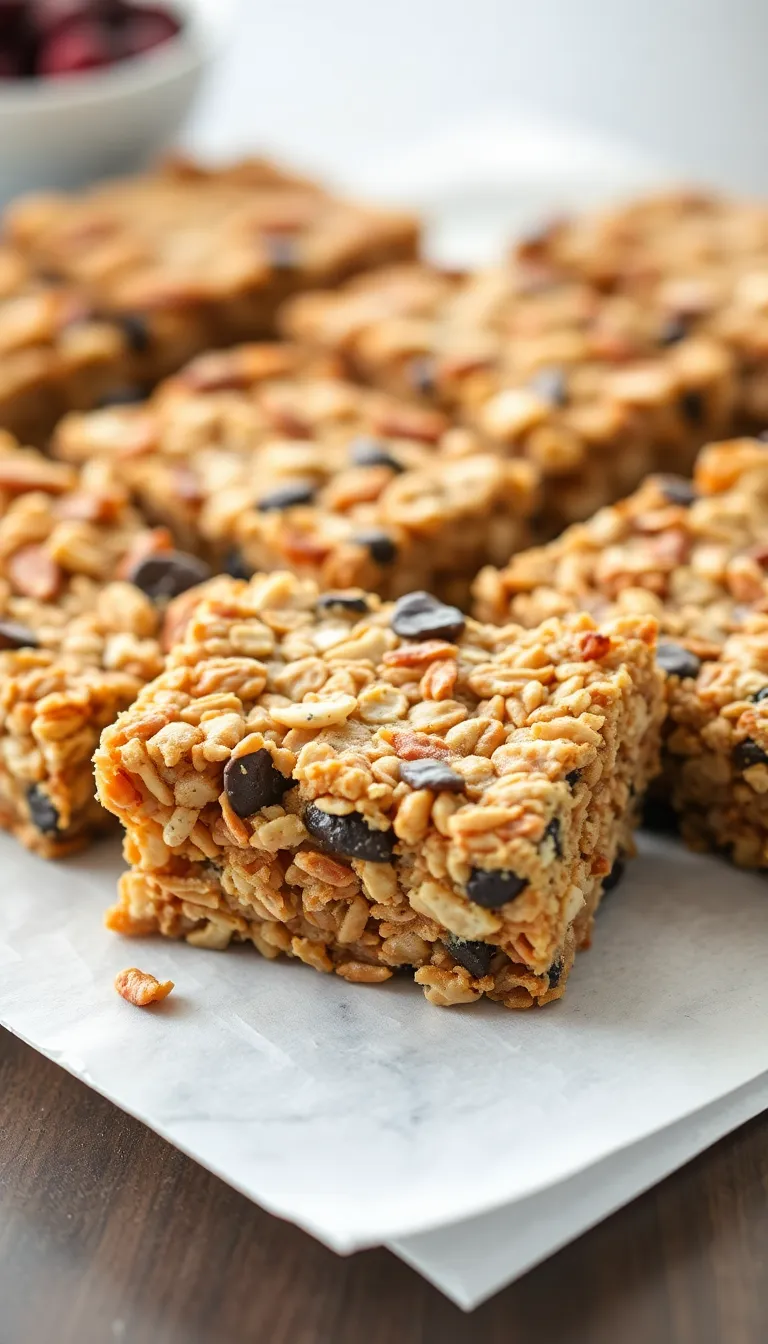
- 2 cups rolled oats (not instant)
- 1/2 cup nut butter (peanut, almond, or sunflower)
- 1/3 cup honey or maple syrup
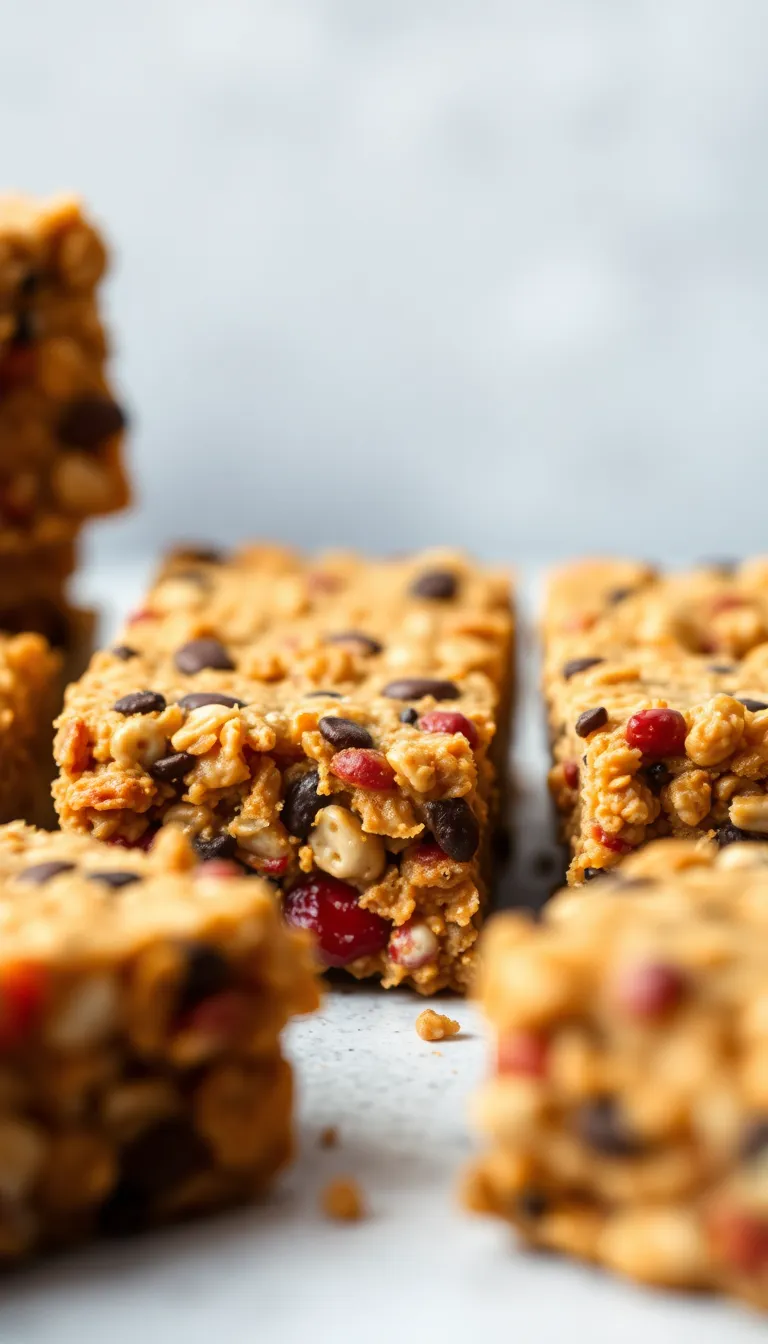
- 1/2 cup mix-ins (chocolate chips, nuts, dried fruit)
- 1 tsp vanilla extract
- Pinch of salt (trust me)
Step-by-Step Instructions
- Toast the oats: Spread oats on a baking sheet and bake at 350°F for 10 minutes. This adds crunch.
Skip it if you’re lazy, but don’t blame me if your bars taste bland.
- Mix wet ingredients: Warm the nut butter and honey in a bowl until smooth. Stir in vanilla and salt.
- Combine everything: Dump the toasted oats and mix-ins into the wet ingredients. Fold until evenly coated.
- Press into a pan: Line an 8×8 dish with parchment paper.
Press the mixture down hard—this prevents crumbly disasters.
- Chill: Refrigerate for 2 hours. Yes, you have to wait. Use this time to ponder your life choices.
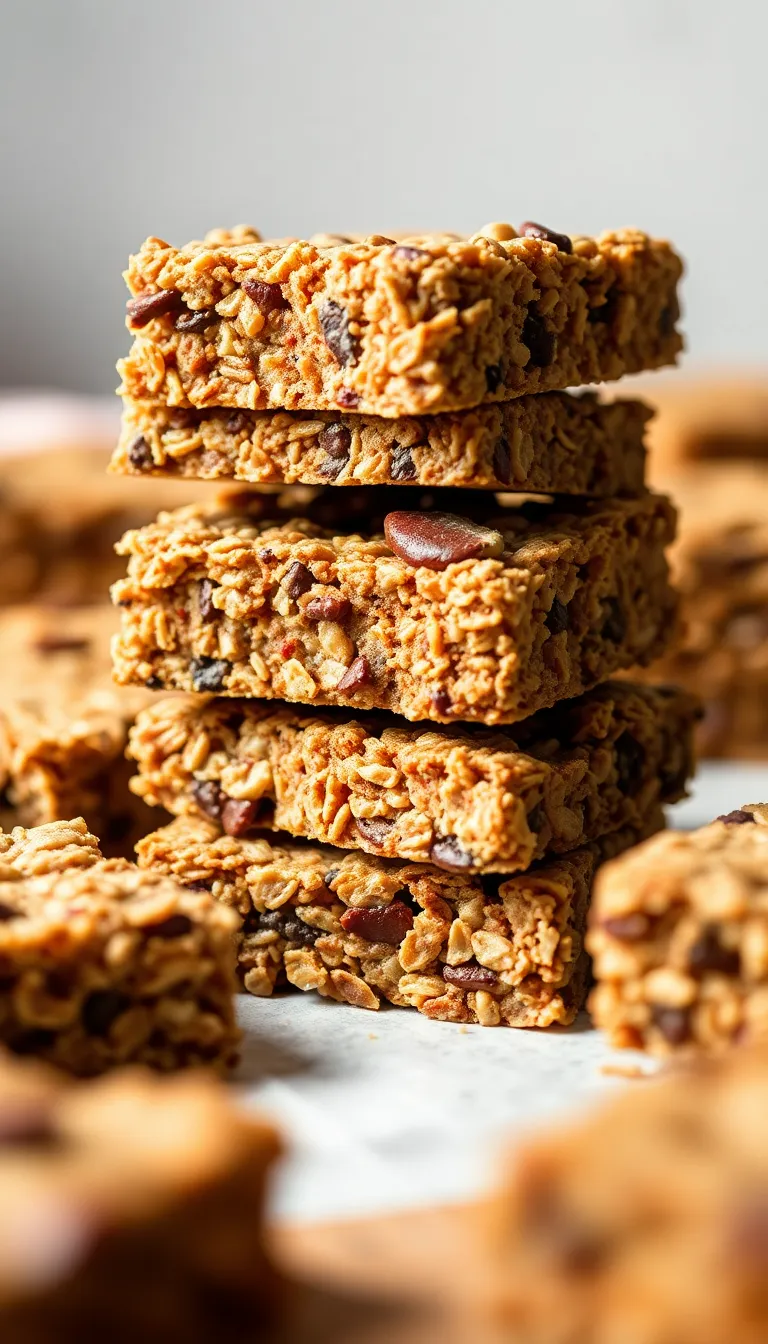
- Slice and conquer: Cut into bars or squares.
Store or eat immediately (no judgment).
Storage Instructions
Keep these in an airtight container in the fridge for up to 2 weeks. For longer storage, freeze them (they thaw in minutes). Pro tip: Layer bars with parchment paper to prevent sticking.
If they last that long.
Benefits of This Recipe
Why bother? Because these bars are cheaper, healthier, and infinitely tastier than store-bought. You avoid preservatives, excess sugar, and weird unpronounceable ingredients.
Plus, they’re perfect for meal prep, hikes, or bribing your kids. Win-win-win.
Common Mistakes to Avoid
- Not pressing firmly: Lazy pressing = crumbly bars. Use a glass to really pack it down.
- Substituting quick oats: Rolled oats give structure.
Quick oats turn your bars into mush.
- Overheating the honey: Too hot, and it becomes a sticky mess. Warm it just enough to mix.
- Skipping the salt: Salt balances sweetness. Without it, your bars taste flat.
Alternatives
Feel like mixing it up?
Try these swaps:
- Nut-free: Use sunflower seed butter and skip the nuts.
- Vegan: Swap honey for maple syrup.
- Lower sugar: Reduce honey by 1-2 tbsp and add mashed banana.
- Protein boost: Stir in 1-2 scoops of protein powder (add extra nut butter if dry).
FAQ
Can I use steel-cut oats?
No. Steel-cut oats are too tough and won’t bind properly. Rolled oats or GTFO.
Why are my bars falling apart?
You didn’t press hard enough or skimped on the binding agents (nut butter/honey).
Pack it like you’re punishing it.
Can I bake these instead?
Sure, but then they’re granola bars, not granola clusters. Bake at 325°F for 20 minutes if you like crunch.
How do I make them gluten-free?
Use certified gluten-free oats. Congrats, you’ve just unlocked GF snacking.
Final Thoughts
Homemade granola bars are stupidly easy, stupidly delicious, and stupidly better than anything you’ll buy.
Once you make these, you’ll side-eye every overpriced bar at the store. So grab your ingredients, channel your inner snack wizard, and get mixing. Your future self (and your wallet) will thank you.